A Closer Look at Pelvic Floor Health & Function – Part 1
1 in 3 people in the western world will have a pelvic floor disorder in their lifetime. It is so common in our population that it’s often considered “normal” as we age to have urinary and/or fecal incontinence. But incontinence isn’t the only dysfunction related to pelvic floor disorder. Those with pelvic floor problems may also experience hip and low back pain, prostate problems, and in some cases, even organ prolapse.
Causes of Pelvic Floor Disfunction
There are several possible causes of pelvic floor dysfunction. This article will focus breathing dysfunction how it can be addressed.
Breathing Dysfunction
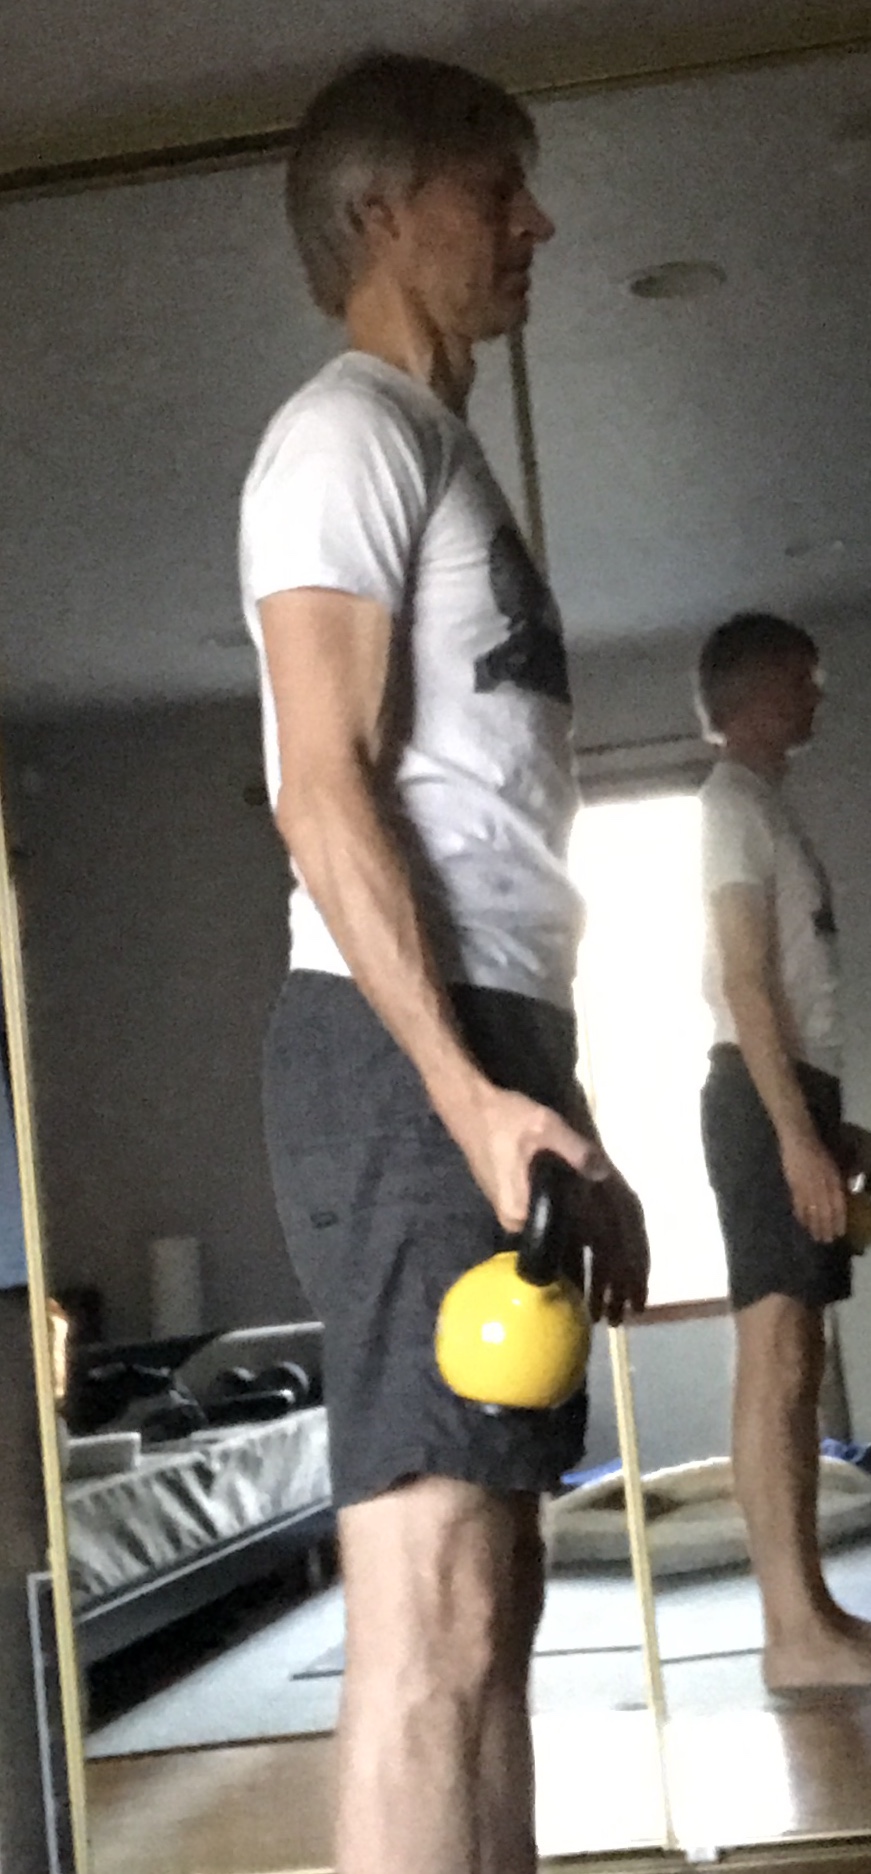
While not the most obvious cause of pelvic floor dysfunction, improper breathing may be the most important. This is because the way we breathe has an outsized influence on the strength of the pelvic floor.
Let’s look at the structure of the pelvic floor in order to better understand how our breathing influences its function.
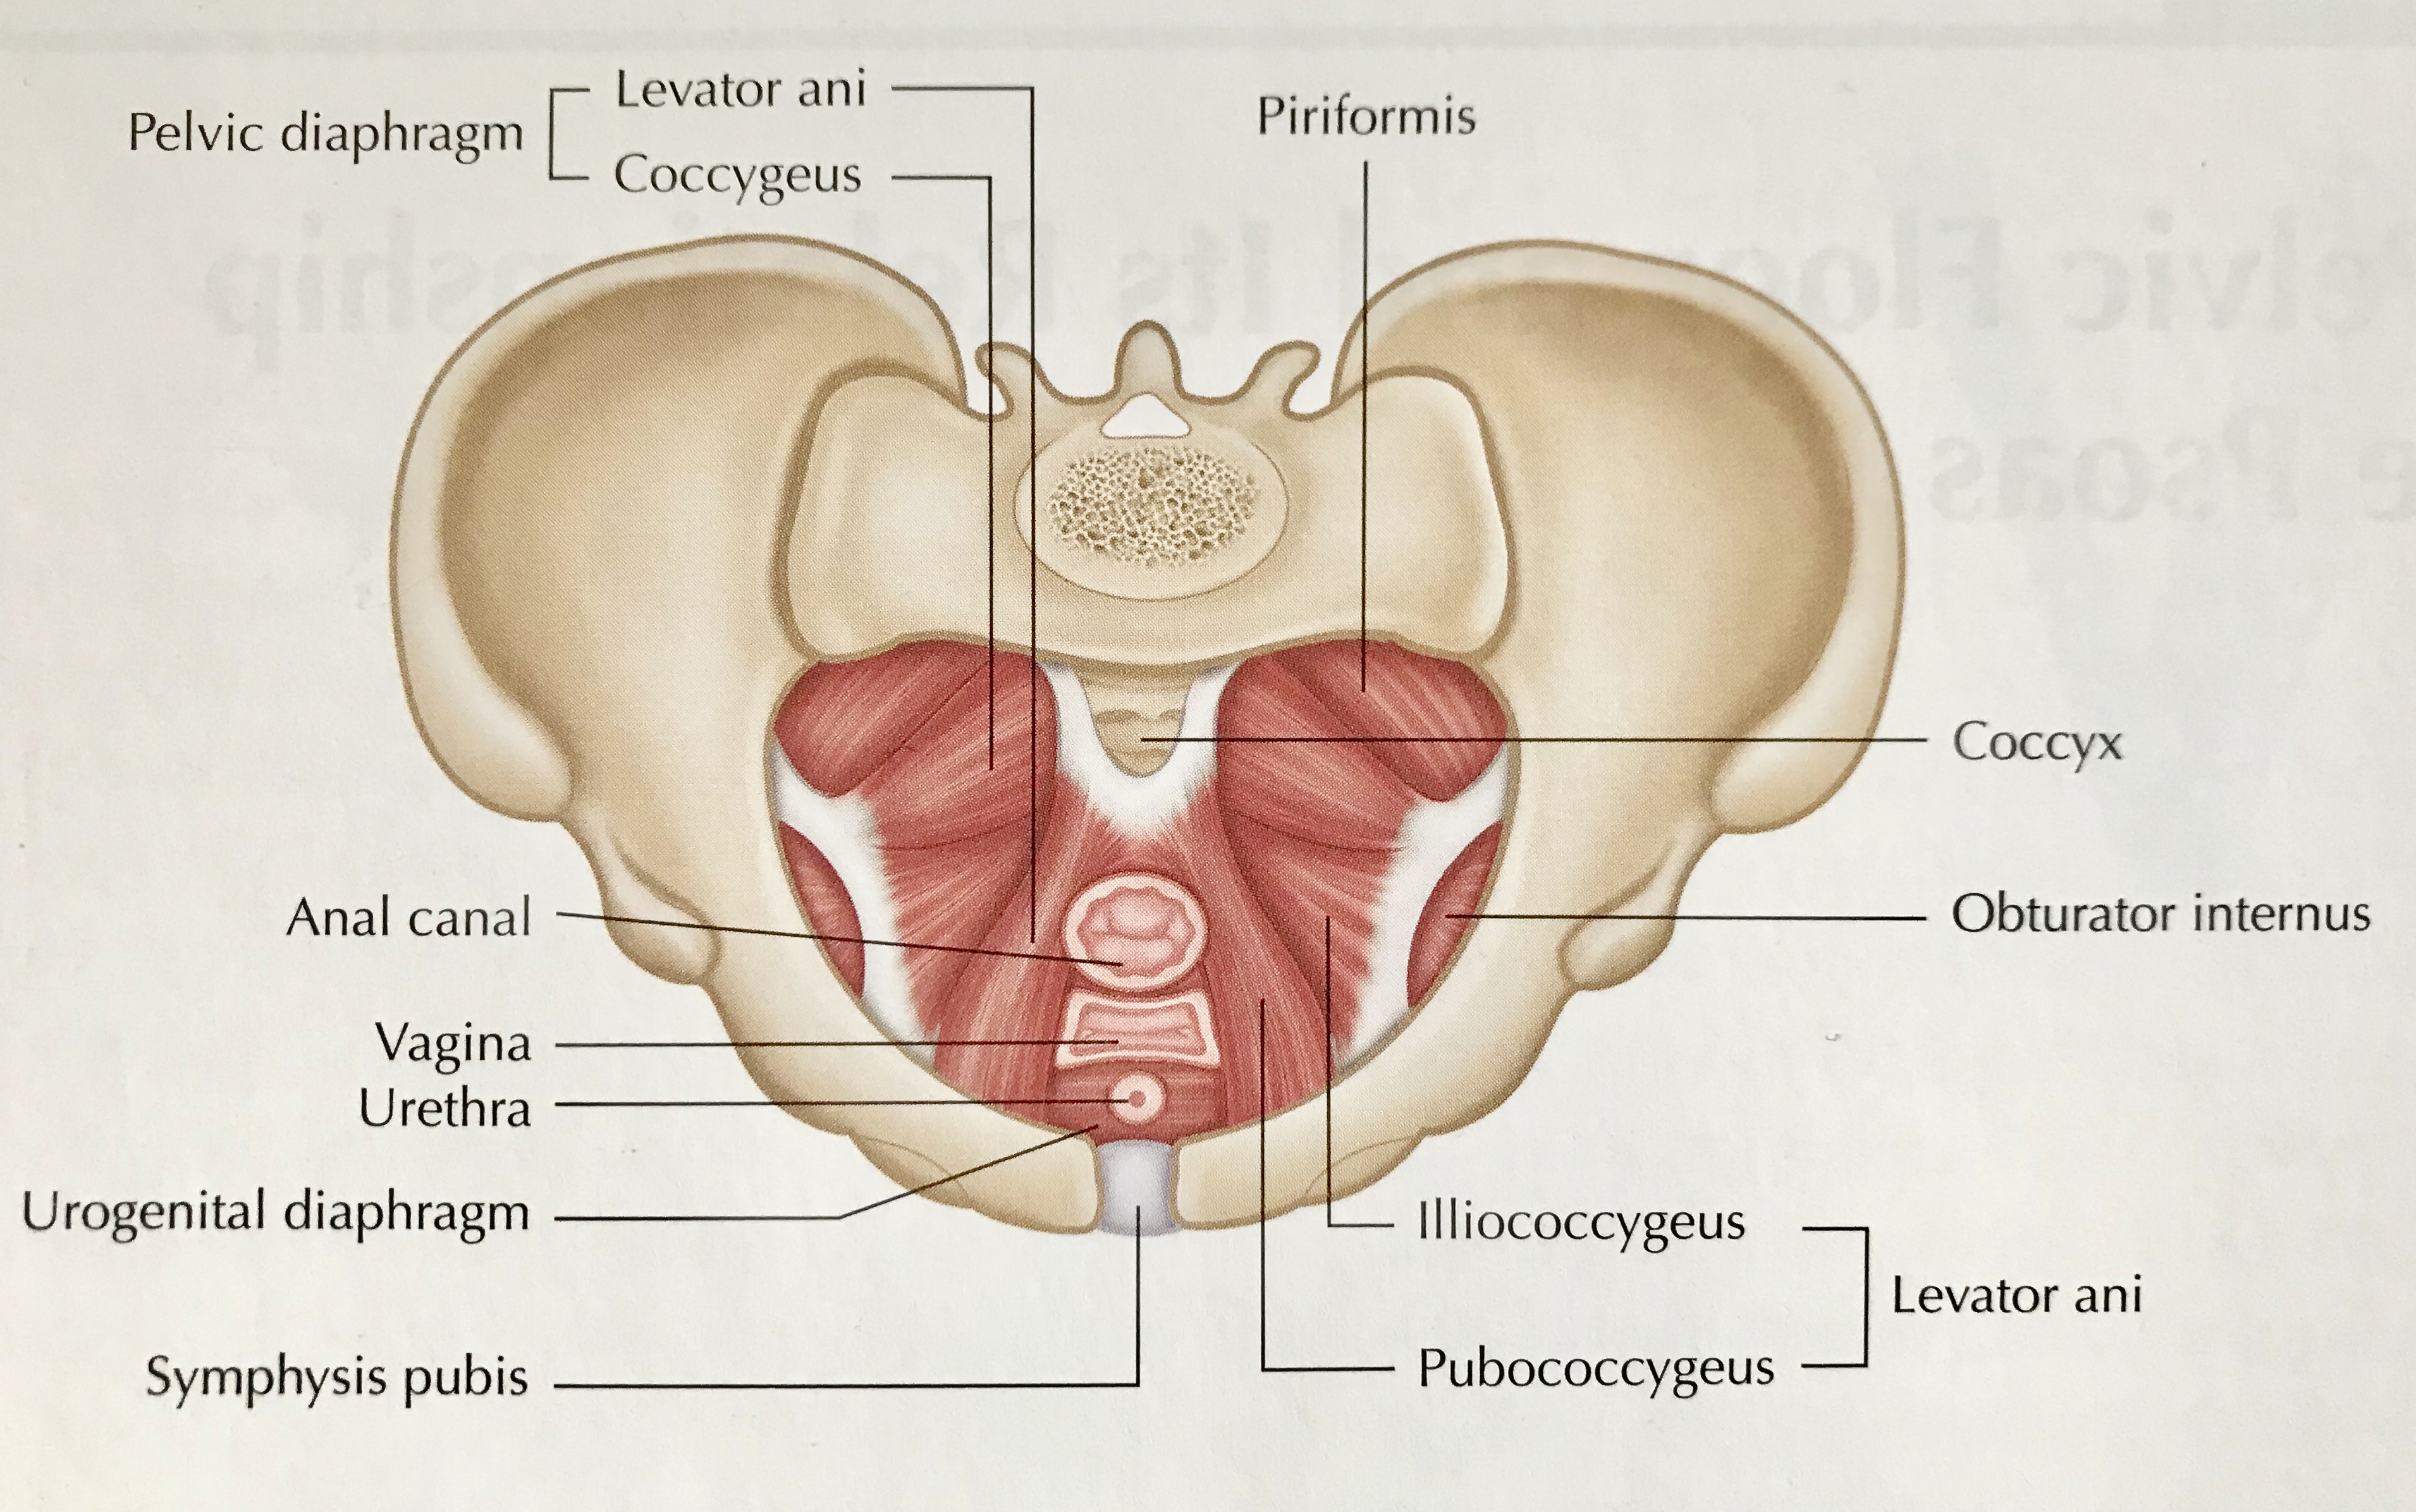
The pelvic floor has 3 layers that include the following:
Endopelvic fascia – This is the non-contractile fascial and ligamentous support network.
Pelvic diaphragm -These layers contain the muscles of the pelvic floor and include the internal sphincter muscles of the bladder and rectum. They are primarily responsible for continence and support of the anus, vagina, prostate and the stability of the sacroiliac or S.I. joint.
Urogential diaphragm – These muscles also support continence as well as sexual function.
Strengthening the Pelvic Floor is Essential
To improve the pelvic floor function, we essentially need to improve its strength in each of these layers. Herein lies one of the key challenges for improving pelvic floor function. We need to strengthen both the muscular layers of the pelvic floor AND the facial layer. But fascia is not like muscle tissue in that it is not contractile, which presents an interesting challenge in trying to strengthen it.
Proper Breathing is the Key
The key to strengthening our endopelvic fascia is found in proper breathing. Correct diaphragmatic breathing throughout the day, and especially when exercising, helps to support the healthy tone of the the facia along with the pelvic floor muscles, which collectively give the pelvic floor its tensile strength.
The Role of Intra-abdominal Pressure
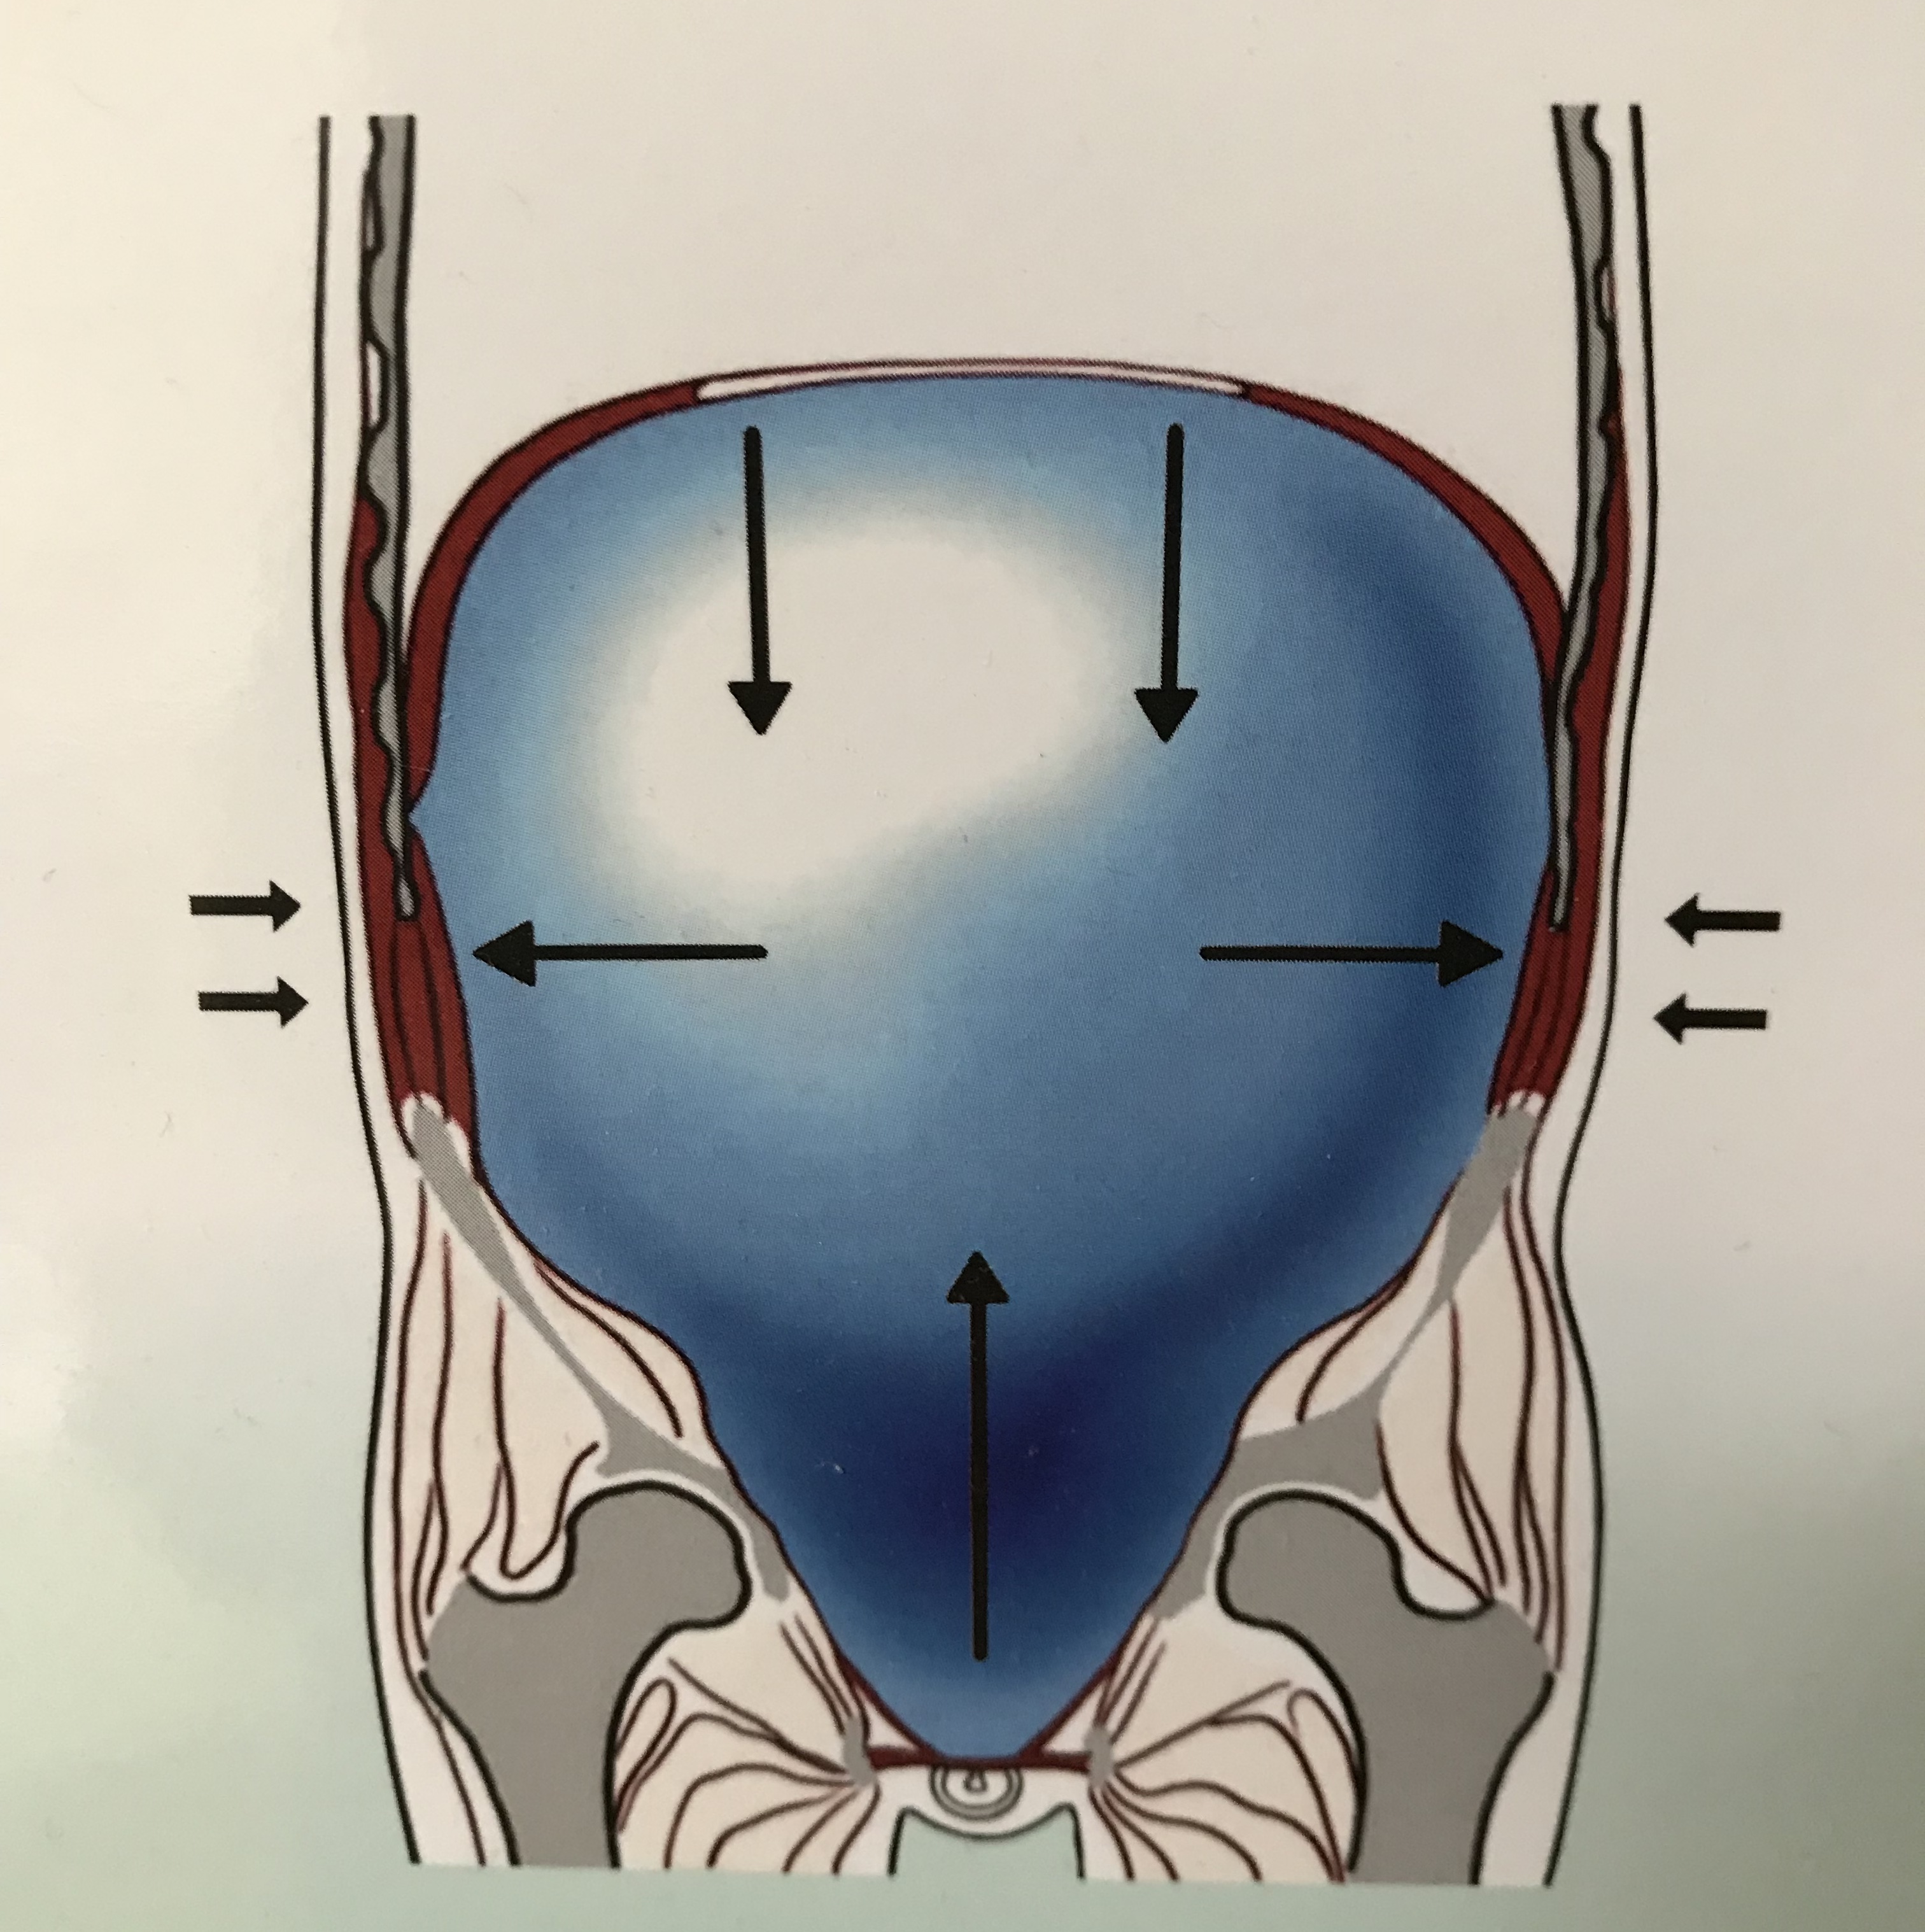
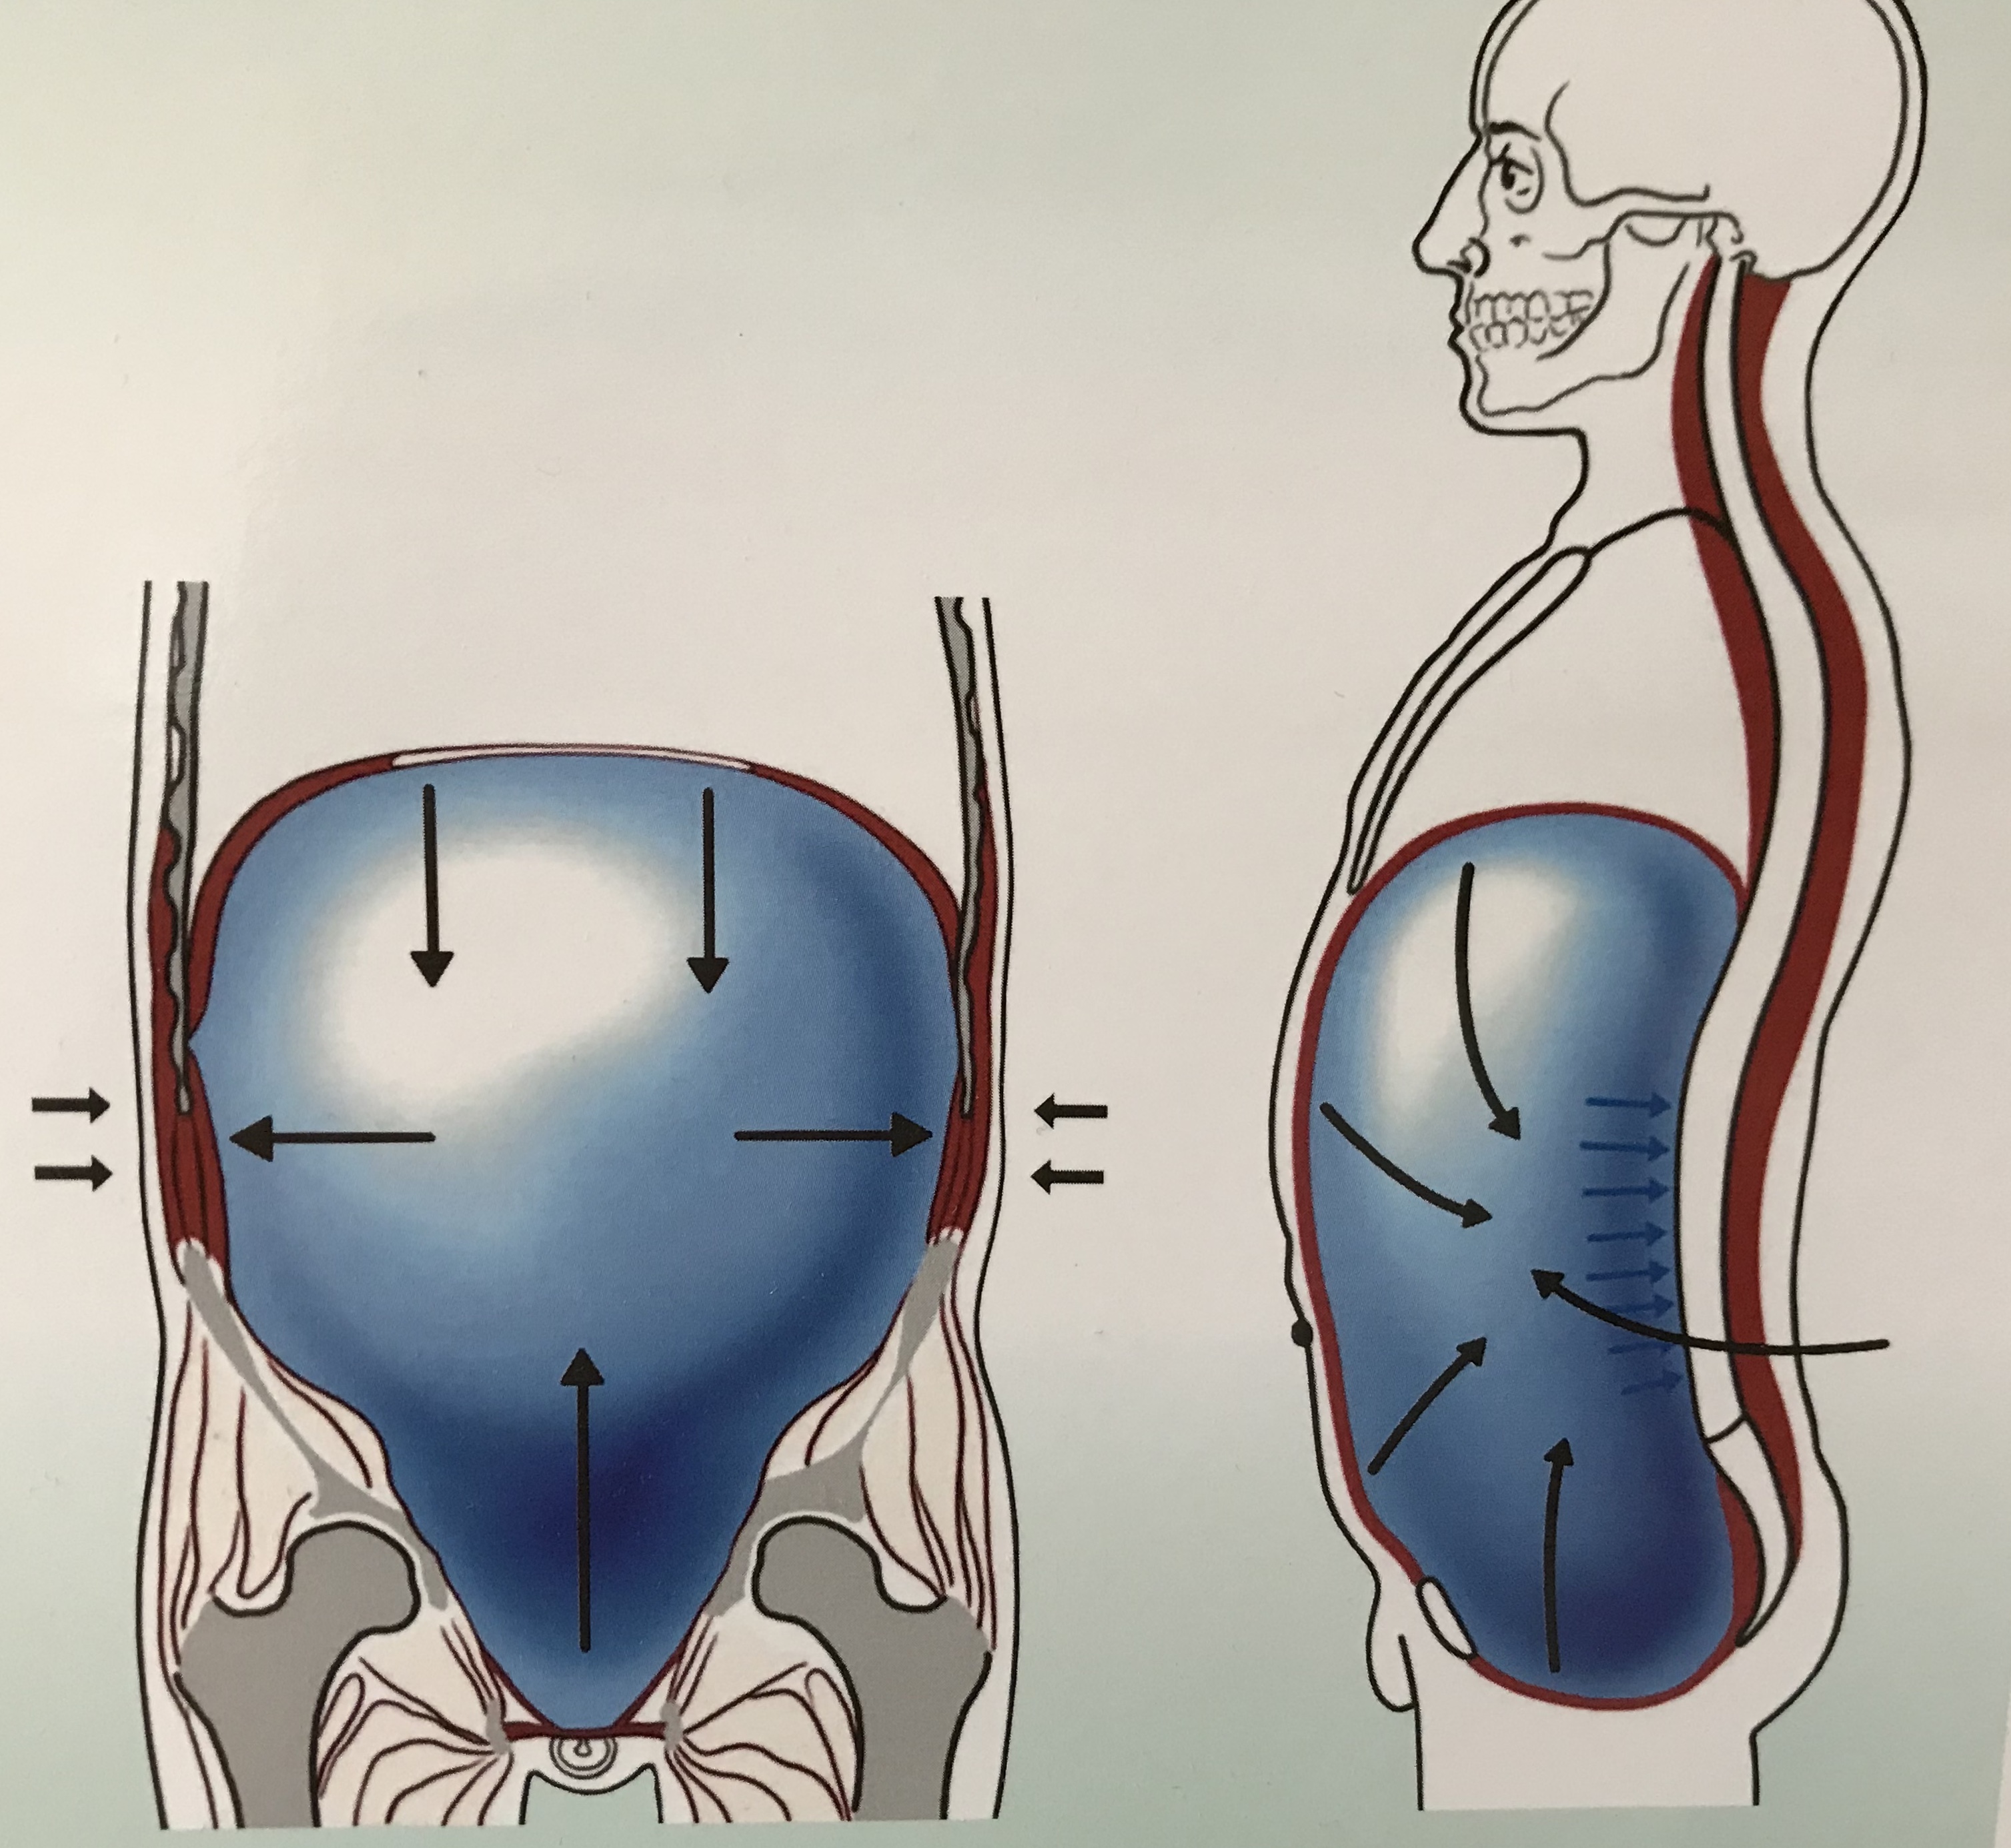
The pelvic floor is essentially the floor of the trunk. The top of the trunk is marked by the top of the shoulders. The walls of the trunk are the spinal column, ribs, abdominal wall and pelvic bones.
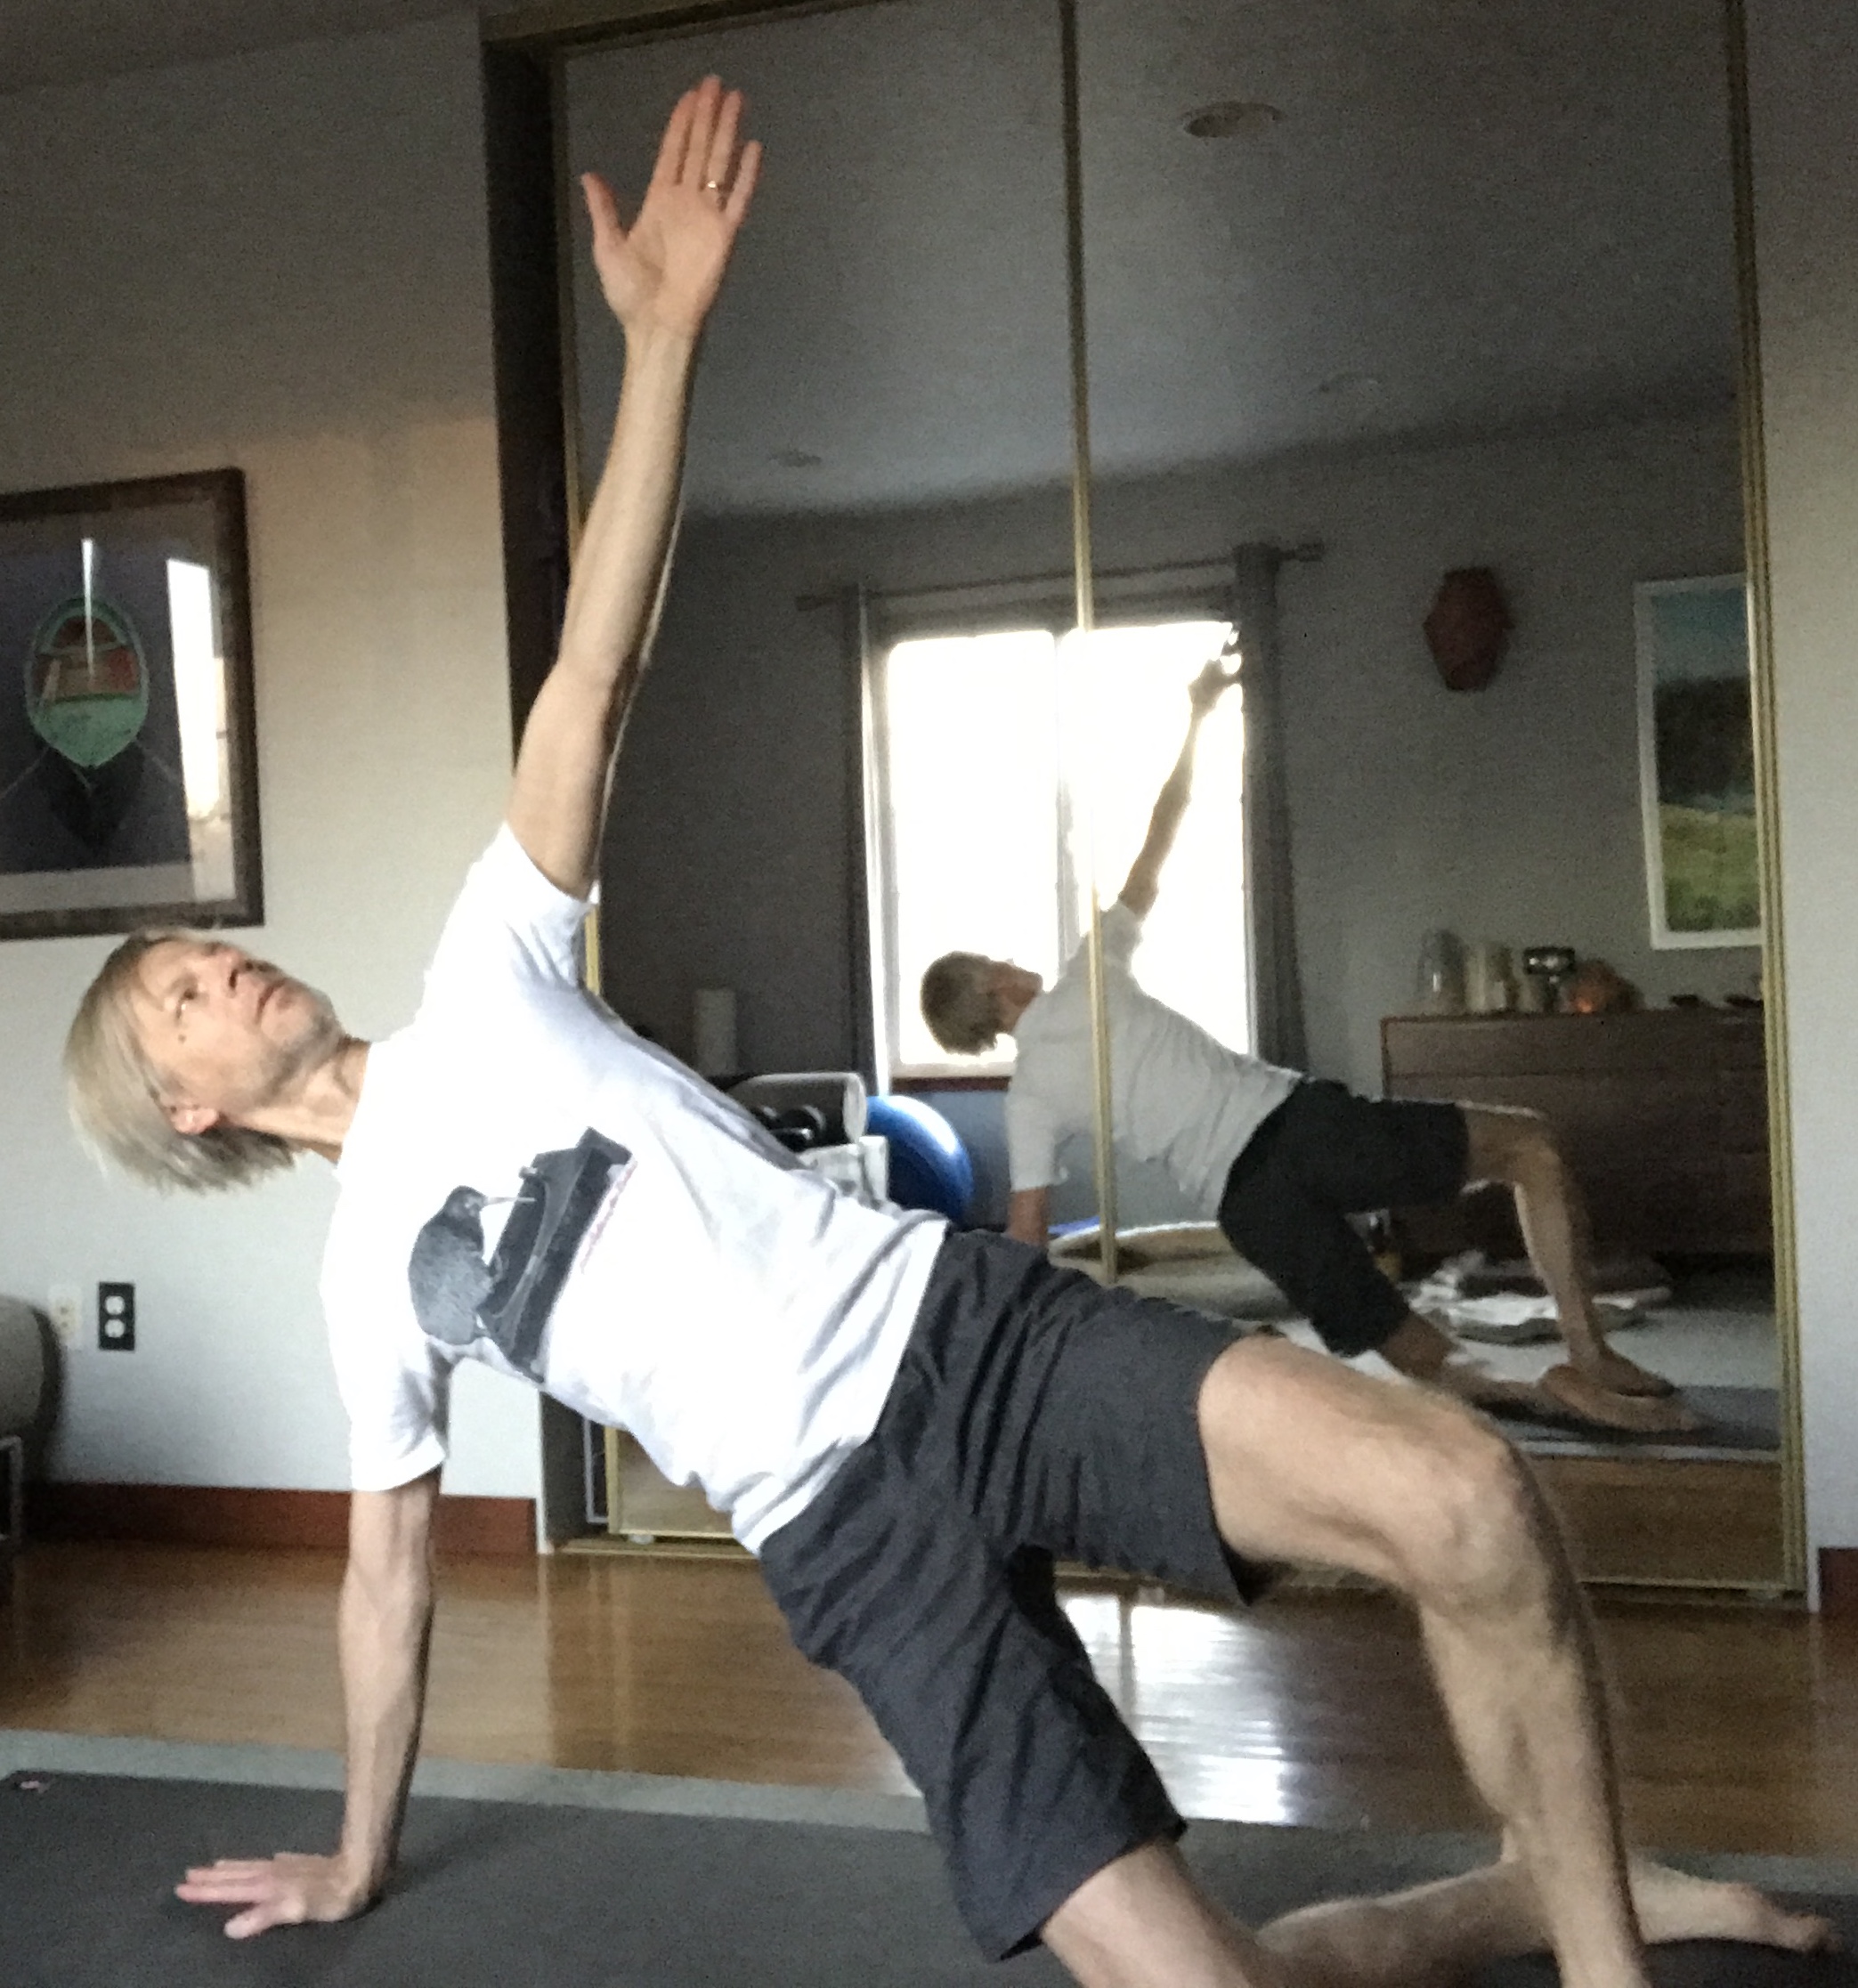
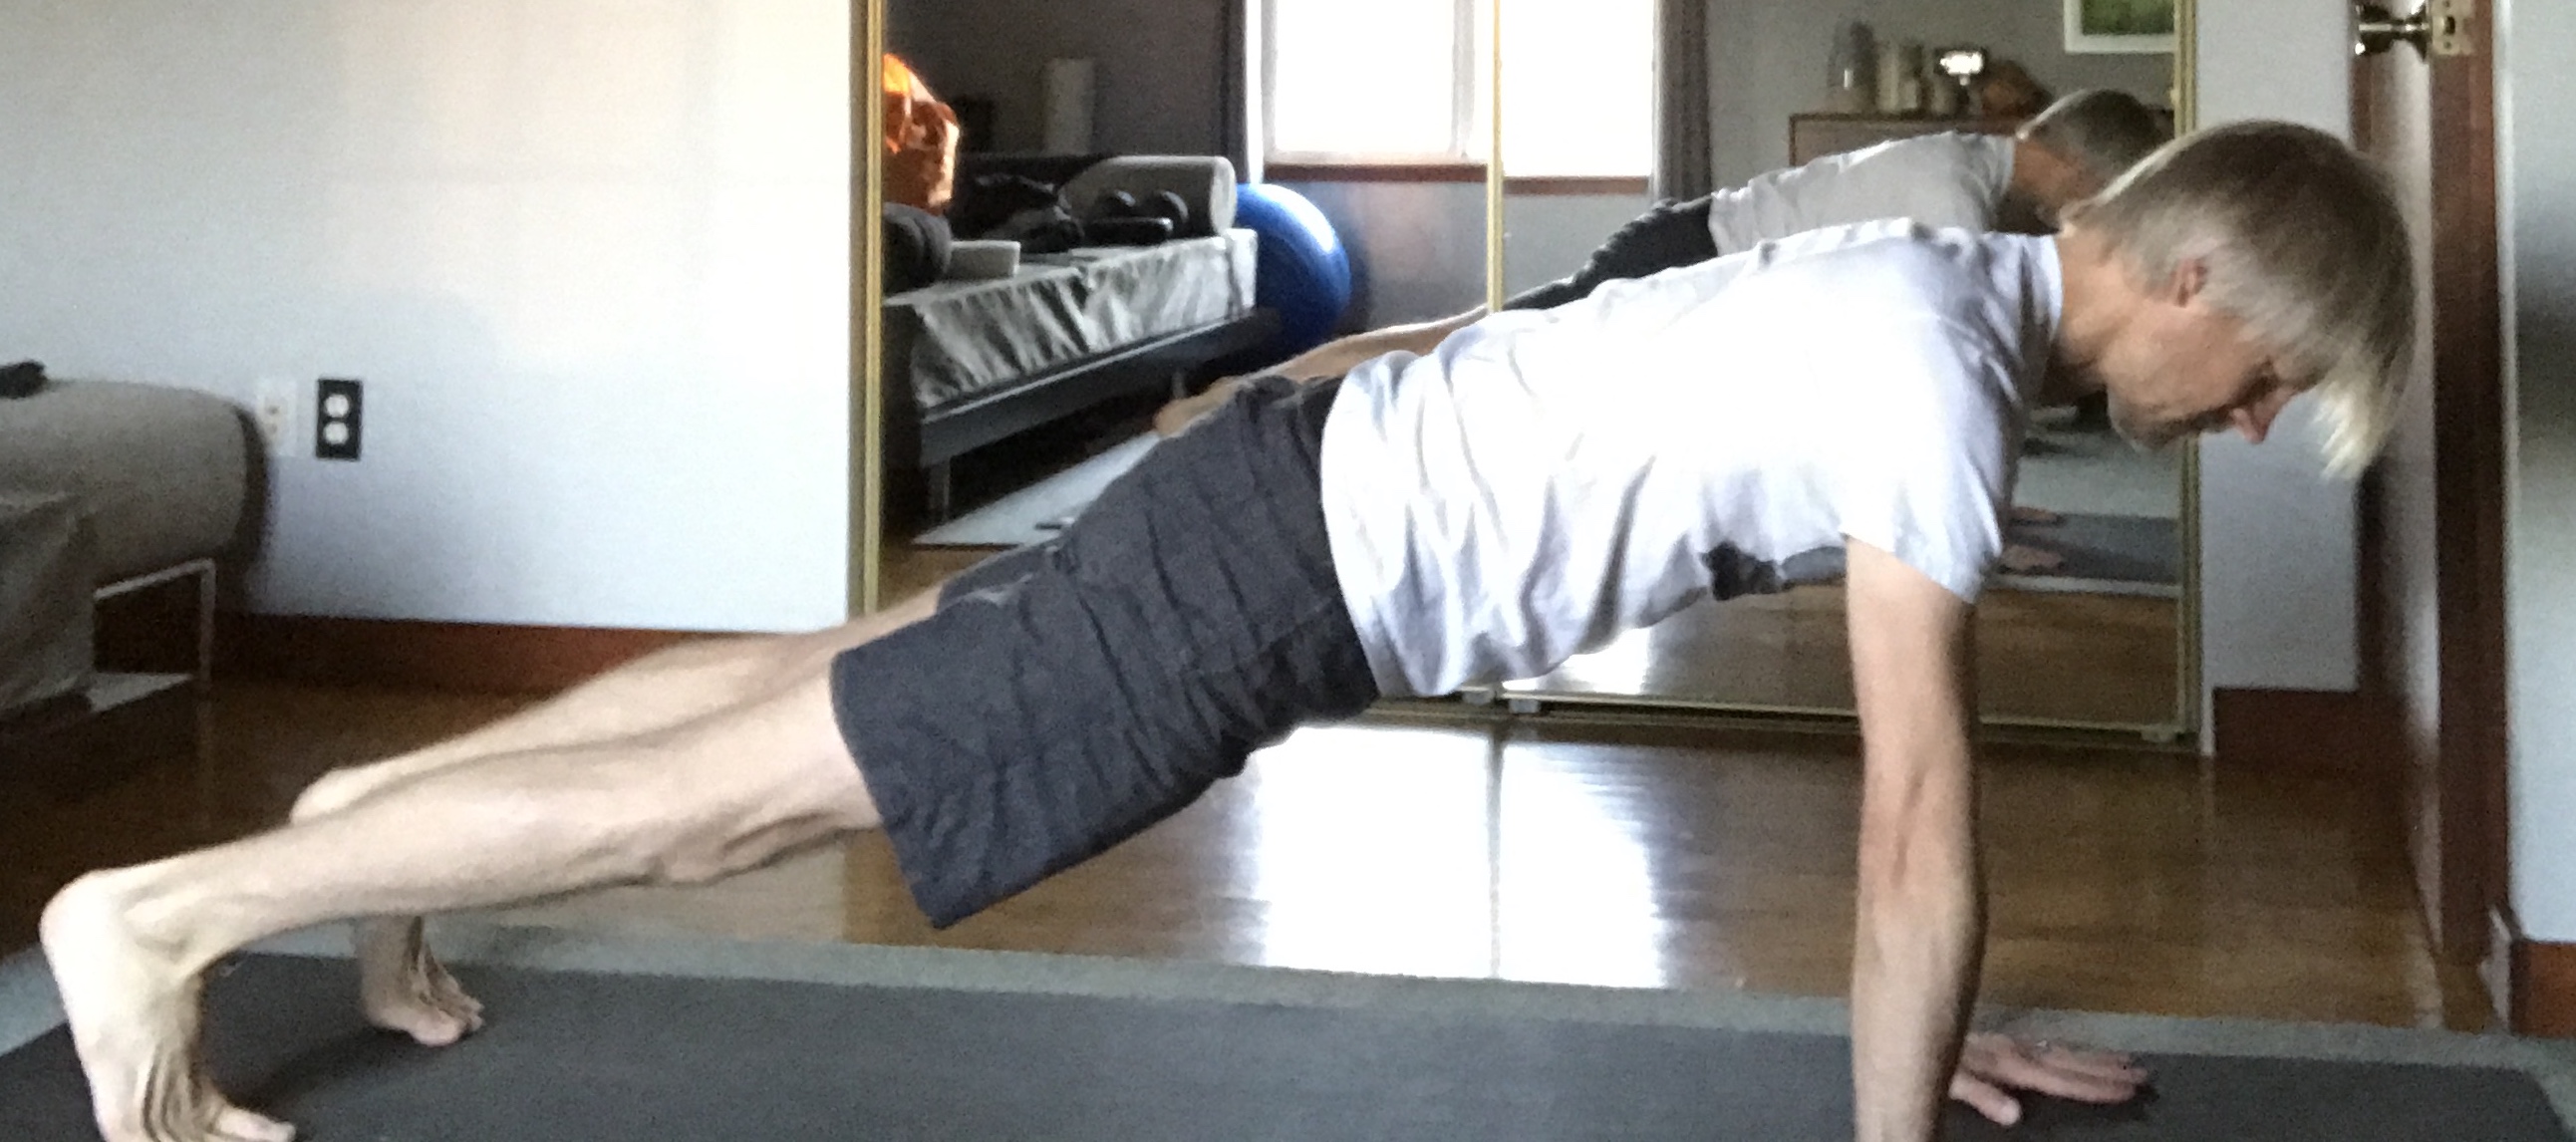
When we inhale, our diaphragm moves downwards and this helps widen our ribs, allowing our lungs to inflate. This downward motion of the diaphragm also creates what’s known as intra-abdominal pressure or IAP in the abdominal and pelvic cavity. A healthy pelvic floor will stretch against this pressure, forming a pressurized container out of the trunk.
With exhalation, the lungs deflate and the pressure from the the lower trunk reduces as the diaphragm moves back up. When the pressure drops, the pelvic floor should contract proportionally to the decrease in IAP. This alternating cycle of contraction and stretching/relaxation in response to the movement of the diaphragm and IAP is the primary mechanism by which our pelvic floor gains and maintains its strength.
With every breath, a healthy pelvic floor will contract and relax, always maintaining the IAP that is optimal for the current activity. We may not even feel this as it can often be very subtle, especially when sitting at the computer. But if we stand up and lift a heavy weight, our experience of the regulation of IAP becomes much more dramatic, or at least it should.
Therefore, first and foremost, re-learning to breathe diaphragmatically is essential for proper pelvic floor function. This approach will strengthen all off the tissues of the pelvic floor, including the fascia.
What About Kegel Exercises?
Kegel Exercises are often recommended to people with pelvic floor dysfunction, especially when incontinence is involved. But if your breathing is shallow or you are a mouth breather, your pelvic floor will have a hard time doing what it ought to, even if you do Kegels all day long.
Relax Your Belly!
So how should we go about improving our breathing to support our pelvic floor function? As simple as this may sound, and frankly, for some, counterintuitive, we must start with letting our abdomen and waist relax and expand, especially when we inhale.
Having worked with more than one client who’s been sucking their belly in for half their life, I’m aware that the idea of letting the belly go may not be a comfortable one for some people. But if we’re trying to look thinner by sucking in our belly, we will most certainly develop a breathing problem, not to mention a weak core.
So if you’re not in the habit of releasing your abdomen, or you’re deliberately doing the opposite, consider trying to let it go. I guarantee it will help you get stronger, and not just in your pelvic floor. And if this is hard for you, give yourself time and consider this – many people confuse core-strength with abdominal tension, and I assure you they are very far from the same thing.
Over time, as you improve your breathing, you will find that your core strength and your pelvic floor function will both improve. And as they do, this will open the door to better overall alignment and function – topics we’ll discuss in part 2 of this article.