Warrior 1 (virabhadrasana 1) – Set Up and Cues

Arguably the most challenging of the classical standing postures, virabhadrasana 1 or “Warrior 1” places great demands on our pelvic and trunk stability along with the strength and mobility of the hips and shoulders. This posture requires the ankles and feet work well and that the spine has good mobility.

When doing Warrior 1 I must maintain constant awareness of where all of the various mechanical loads are placed, and thus Warrior 1 also poses a great challenge to the mind. I must remain present at every moment I am in the posture for both safety and success.

Warrior 1 includes a back bend as one of its key elements. If you have a low back injury, I would not recommend learning this posture on your own. PLEASE SEEK A SKILLED INSTRUCTOR FOR HELP.

Even if you’ve had experience with the posture, I would encourage you to watch my video on stabilizing the lower back for back bends before watching this video for a better understanding of how to approach the back bending element in Warrior 1.

Applying DNS and Core Stabilization in Yoga

Several years ago when I was deep into Katy Bowman’s bio-mechanical approach to postures and movement I began to better understand some of the postural habits and faulty mechanics that were impacting my health and the health of my clients. It became clear to me that it was these habits and their frequent repetition while standing, sitting, squatting, bending forward and walking that lead directly to the manifestation of the chronic injuries and pain patterns that are epidemic in our modern lives. I also understood that if we were to overcome our injuries we needed to address them at their root cause by changing the way we move.

As this understanding came into focus, I started to take a closer look at the yoga postures I was doing and teaching and I had a realization. Those of us who do yoga tend to bring the very same postural patterns and poor mechanical habits we use in our daily lives into our practice of yoga postures. Therefore going to a yoga class often amounts to simply finding new and interesting ways to reinforce our patterns and promote our injuries.

This opinion is partly based on the fact that yogasana or the practice of yoga postures is extremely difficult. The posture themselves are for the most part so complicated and demanding that anything approaching mastery may arguably remain elusive for most. Yet it is also this degree of challenge posed by yogaasana which is the very thing that makes it potentially so powerful. If I manage to master even one posture I will have overcome much of my habituation, physically and mentally.

With the manifestation of this view I began changing my approach to practice and to teaching. I started introducing simpler postures that were more accessible and less physically demanding. I also began to emphasize the development of movement skills that could be applied not just to yoga but to the movements we do all day long. After all, what good is my trikonasana if I can’t bend forward properly to pick something up or squat down to use the toilet.

I then reintroduced some of the classical postures, not so much as postures to be mastered but rather as opportunities to apply the skills learned in the simpler postures to decidedly more challenging ones. The classical postures put the skills we learn in the simpler postures to a strong test, and they provide an opportunity to apply multiple skills at the same time. I liked this approach and still do, but until recently I felt there was something missing.

With the addition of my DNS training I feel I’ve found that missing piece. It’s the skill that integrates all of the other skills and organizes them into a cohesive whole. It’s the skill that transforms a set of applied skills, movements and stretches into a true asana – a posture that expresses both stability and ease. That skill is the skill of stabilizing the pelvis and trunk in a way that not only allows but in fact facilitates free movement. This skill is true “core stabilization.”

The DNS approach to core stabilization is not something I ever learned in a yoga class, but it applies to yoga wonderfully! I feel strongly that it’s a skill that has the power to transform any yoga practice. And for those who don’t practice yoga, proper core stabilization will improve whatever movement practice or sport they choose to do, not to mention greatly improve the movements they do outside of any structured class or activity.

I’ve begun to post a series of short videos in which I offer an approach to setting up some of the more common classical yoga postures. The videos also include some voiceover cues for guidance. My approach to each of these postures emphasizes core stabilization as the foundation for each. I don’t necessarily use the term “core stabilization” in the video, but hopefully as you watch these you’ll begin to understand what I mean when I say “stabilize” or “stabilize the pelvis” or “stabilize the lower trunk,” and you’ll begin to apply this in your own postures.

Before watching these videos I recommend watching the more basic DNS videos that are already posted. It’s important that you understand how to breath diaphragmatically and to establish intra-abdominal pressure before you can do the kind of core stabilization I am referring to in the post and in the asana videos. Just click on the links above to view those videos before moving on to the others.

If you’re new to yoga, these videos are not meant for you. They are intended for students will some experience. If you’re an experienced yoga practitioner or teacher, I ask that you keep an open mind. The feedback I’ve been getting these days from the experienced yogis that find their way into my classes is that I’m doing something very different from what they’ve been taught before. Hopefully this makes for a great reason to take an interest and see what might be of value and not a reason to reject it simply because it doesn’t sync with past experiences or understanding.

Whatever your view, my practice and my teaching have always been and always will be a work in progress. Therefore I welcome your comments and look forward to hearing from you and getting your feedback. No doubt your input will help me refine and improve my practice and my teaching moving forward.

Namaste’

Stabilizing the Lower Back for Back Bends

Over the last decade as I’ve been exploring different approaches to movement, I’ve always found myself coming back to my yoga practice asking the question “how does what I’ve learned inform my approach to yoga?” For the most part I’ve consistently found that new knowledge from different perspectives has facilitated greater insight into many classical yoga postures and, simply put, allowed me to perform many of these postures better and safer.

Because my personal practice and my teaching have placed greater and greater emphasis on postures that maintain a neutral spine, I must acknowledge that this approach has been at the expense of a great many important postures, arguably the postures that most distinguish yoga from other movement practices. The postures most conspicuously absent for a long time were “forward bends” and “back bends,” the two classifications of asana that involve deliberately moving the spine out of neutral and into flexion and extension respectively.

More recently, as I’ve begun to emphasis stabilization of the spine rather than neutrality, it has opened up my practice and teaching playbook to forward bends and back bends once again. And once again, I find I am understanding and performing these types of postures better than ever before, albeit with a bit of rust to work off. Back bends in particular have been a thrill to come back to and to perform with the ideal combination of safety and efficacy that I believe is essential to the practice of any asana.

One simple posture has laid the foundation for me to reintroduce more back bends into my practice and my classes. It is a posture that can be done by just about anyone, and I’ve even found it accessible to clients who are in acute back pain (although I wouldn’t recommend that someone in acute back pain use it without the help of an experienced instructor). This posture can be done on its own or used as an effective set up for any back bending asana. It is particularly useful for preparing the body and mind for prone back bends such as salabasana (locust), bhujangasana (cobra), urdhva mukha svanasana (upward facing dog) and dhanurasana (bow).

Take a look at the video above where I demonstrate the posture I call “3 Month’s Prone.” This video shows a limited view of the posture for the purpose of highlighting its key feature. For a somewhat more detailed video on this posture and a more complete view, refer to an earlier video I posted which you can find here.

As always, if you are uncertain of your ability to do such a posture, or if you have an injury to your spine, CONSULT YOUR DOCTOR BEFORE ATTEMPTING!


Dinacharya and the Fall Season

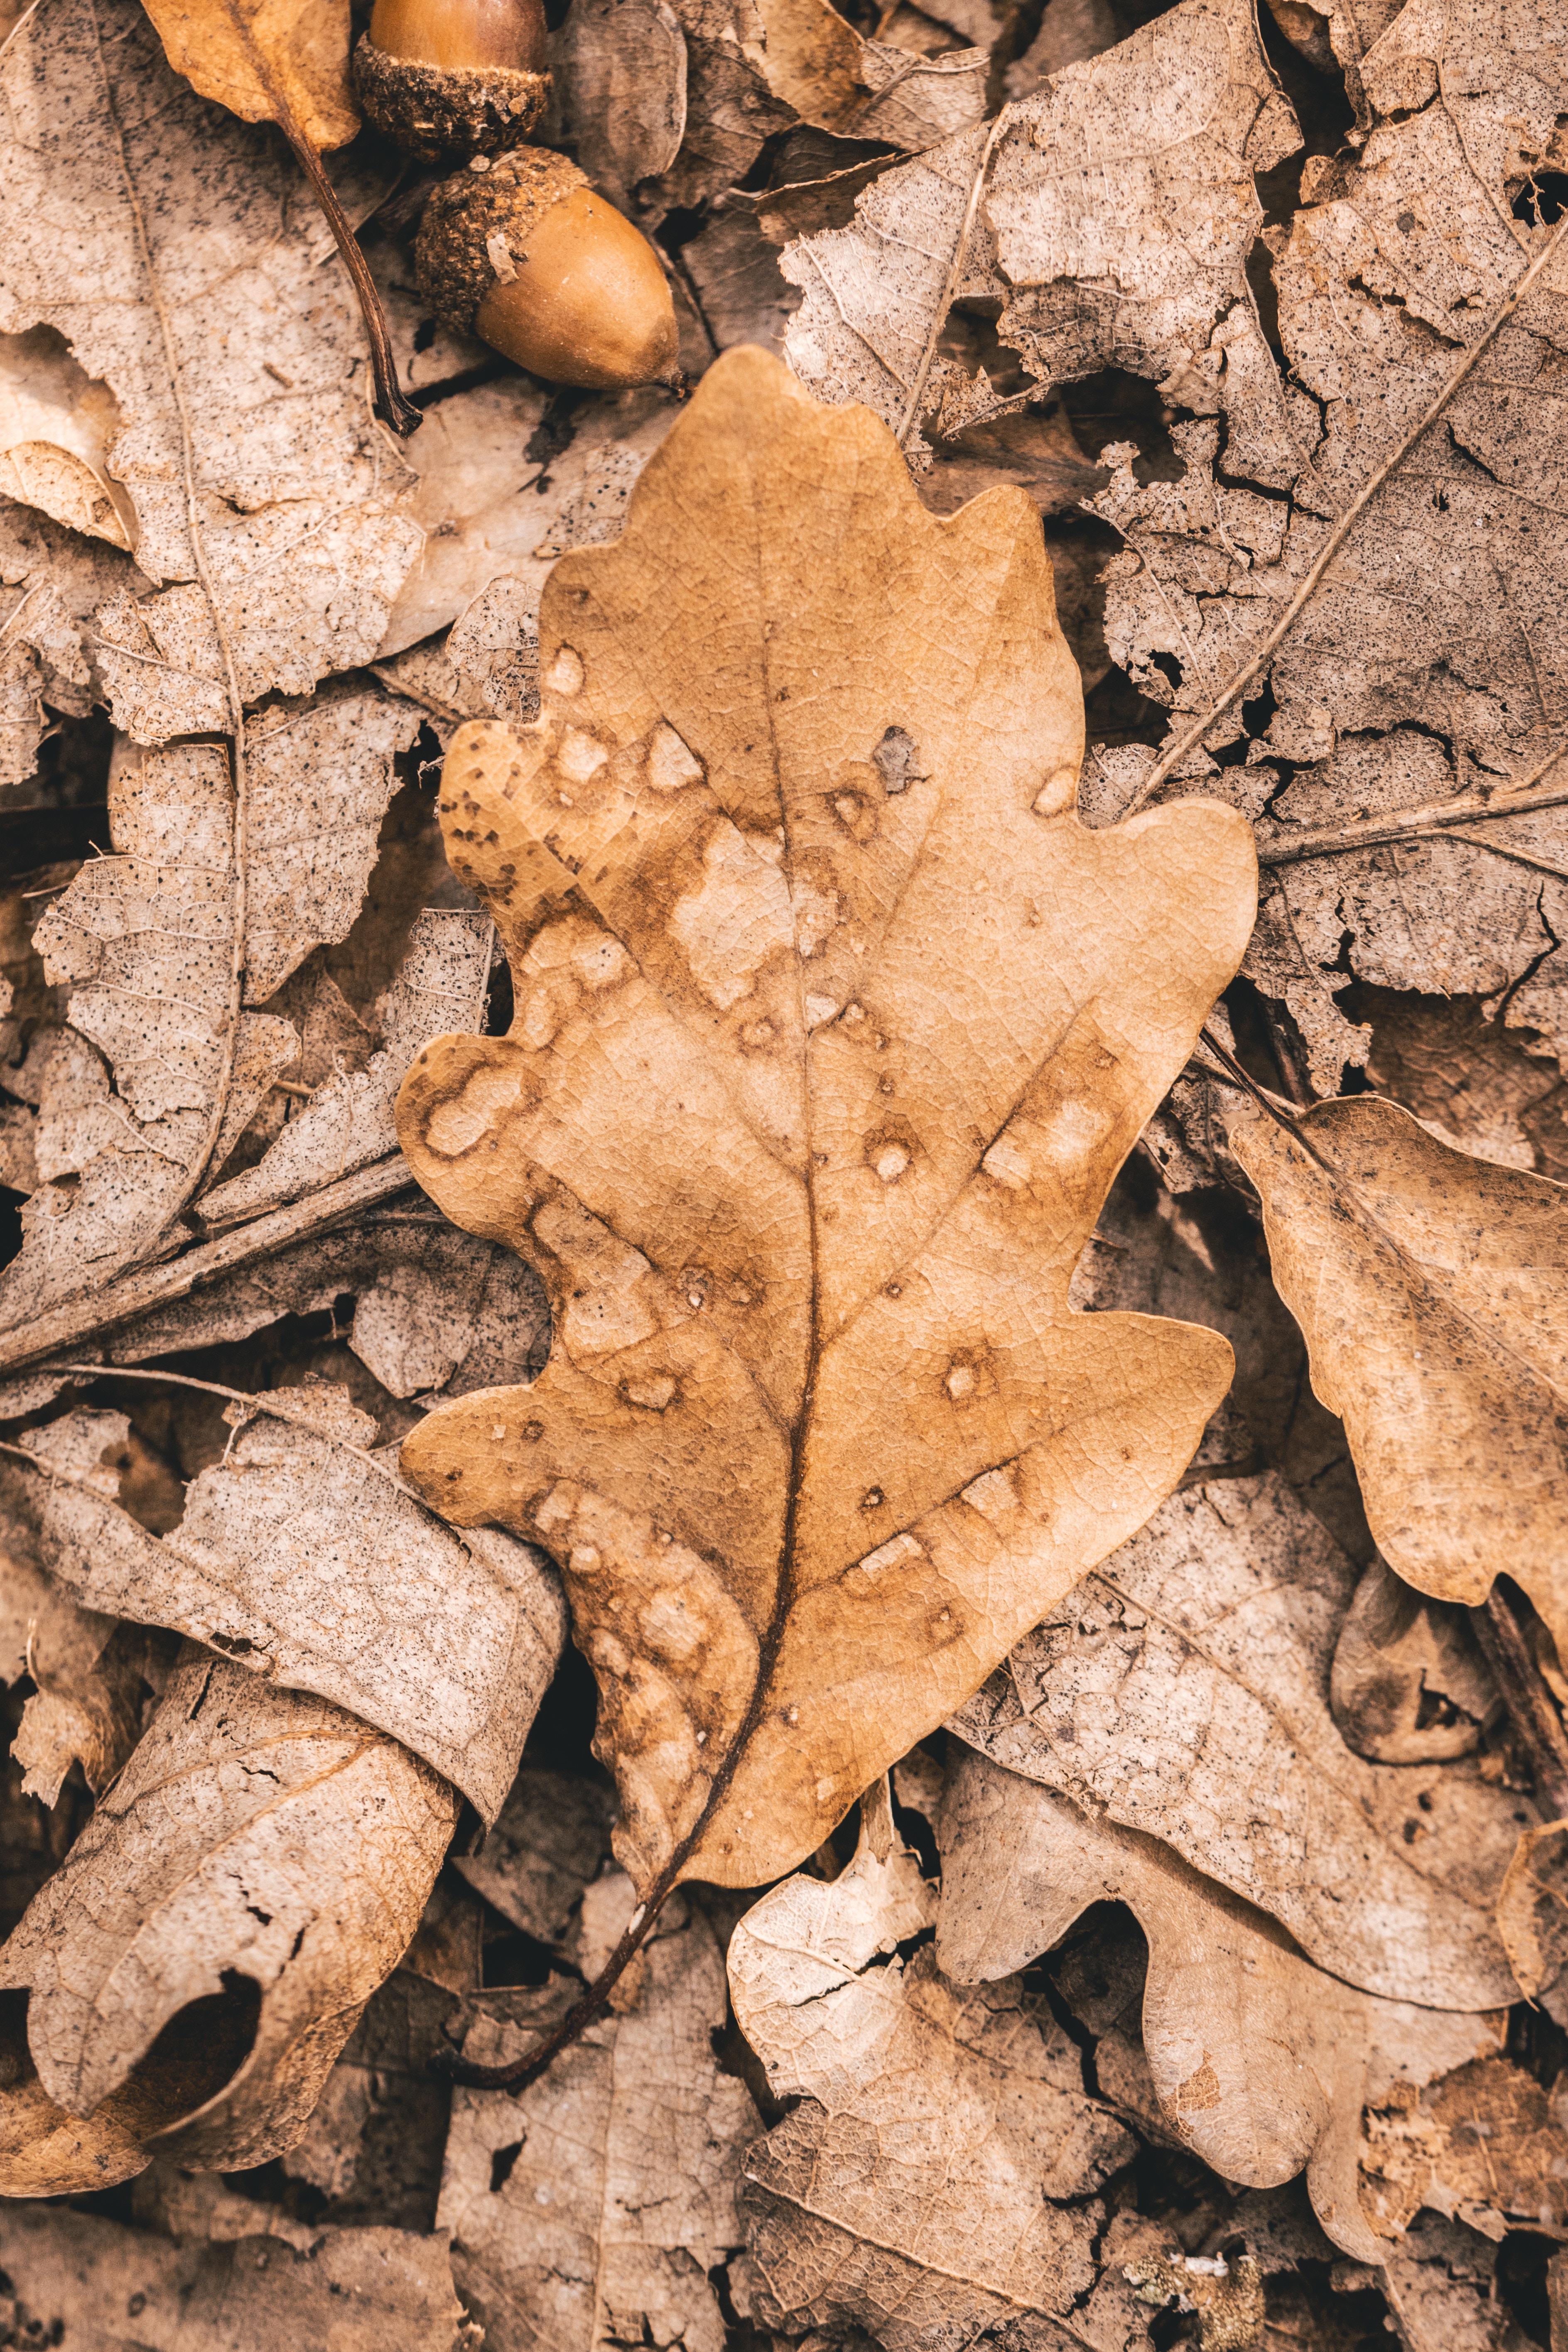
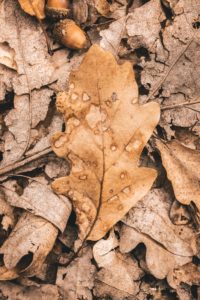
Northern California is for the most part a pretty dry climate, but our fall season can be brutally so. By October we typically have not had any rain for several months and the heat of summer has dried up much of the moisture in the environment. When you add in the effects of our “Indian Summer” with it’s hot temperatures, dry winds and exceedingly low humidity you have a formula for serious vata derangement.

Even as I write this I can feel how much dryer my sinuses are compared to last week when we had that welcome, but unusually high humidity and tropical rain. I can feel the dryness right into the back of my throat, and I can’t seem to put enough lotion on my hands. My experience tells me that these are mild but significant early signs that excess vata is starting to weaken my tissue a little, and if I’m not careful I may succumb to a cold or begin having digestive issues.

Vata or vata dosta is a fundamental physical and psychological energy that helps to move anything that needs moving. Vata is responsible for the movement of our food through the digestive track, for moving the nourishment we receive from our food into and through our bloodstream to our tissues, for moving nerve impulses from our brains through our nervous system and into our muscles and skin and for moving our thoughts so as to enable thinking and conscious action. Vata dosha is light, dry, cool and lacking in it’s own source of stability.

When vata is elevated it acts like a dry wind, weakening tissues and making them more vulnerable to degradation and possible infection. Inappropriate diet or lifestyle choices or external factors such as the weather or season can disturb vata in us and this may begin to negatively affect our health. The effects of elevated vata dosa are subtle at first. Perhaps I’m having more gas than usual, or I’m a bit constipated. I might notice my skin is a bit dryer than usual or I feel a bit agitated mentally and am having trouble relaxing fully or sleeping restfully. Whatever the signs, it’s when these signs first appear that we have a chance to make choices that will offset this excess vata and prevent it from having a more significant impact on our health.

One of my favorite concepts from ayurveda is dinacharya or “the daily routine.” Outlined in the ancient ayurvedic texts, dinacharya is a way for each of us to begin each day in perfect balance with the natural world. Most of the elements prescribed in this daily routine are simple, practical and obvious. They include waking up early, washing our face, drinking water, using the toilet, brushing our teeth, bathing, dressing and exercising. Some activities prescribed in dinacharya are less obvious but no less practical, such as acknowledging the new day, however we may choose to do this.

One daily routine outlined in the classical texts that is not commonly practiced in the western world is the application of oil to the head and body. I call this self oil massage or self abhyanga. Self abhyanga is not complicated. It simply means covering the body from head to toe with a significant amount of oil, ideally one that is suited to our individual constitution. After the oil is applied, preferably in a warm environment, it should be left on for 10-15 minutes, if possible, to allow time for it to absorb through the skin and into other tissues in the body. After this time it should be cleaned off the body during a warm shower or bath.

Oil is frequently used in ayurveda because of the way in which it penetrates into tissues. If the oil has herbs cooked into it, then the oil acts as a carrying agent to deliver the herbs and their properties to specific tissues. More generally oil is used to add liquidity and stability to tissue that may be in need of it. One application of the use of oil that I find particularly helpful is nasya or the placing of oil into the nose. Nasya helps to keep sinus tissues moist, healthy and well functioning and when certain herbs are cooked into the oil the practice can also improve the voice, vision and enhance mental clarity. Placing oil in the nose is also one of the daily routines outlined in the classical ayurvedic texts.

Application of oil is also a simple and effective way of balancing vata dosa. The heavy, moist qualities of warm oil can help to balance the dry, light and cool qualities of vata. Therefore I feel that it is the dinacharya practices that involve the use of oil and which I’ve outlined above that can be particularly useful for us Californians during the fall season.

Here are some more details on how to do self abhyanga and self nasya. Since everyone’s constitution is different, contact me or another qualified ayurvedic practitioner for choosing the best oils for you.

Self Abhyanga

Fill a small plastic bottle such as a travel bottle for shampoo with a food grade oil appropriate for your constitution. If you’re not sure which oil to choose, contact me for help.

Boil some water to warm the oil. Meanwhile, place some old towels (that you don’t mind getting oily) on the floor of your bathroom. Warm the room up so that you not only won’t get cold being in there for 15-20 minutes, but may even have a chance to sweat a little.

Place your plastic bottle of oil into a large coffee mug or similar. When the water is at or near a boil, fill the mug most of the way up or until you’ve covered enough of the bottle to warm the oil well. Take your filled cup and warm oil into the bathroom and place it somewhere convenient.

Begin to apply the warm oil, starting at the crown of your head and working downward. Make sure you use enough oil on each part of the body that the skin there cannot absorb all of the oil you apply. If you have time, rub the oil in using longitudinal strokes on your bones and circular strokes on your joints. Don’t worry too much about getting this right.

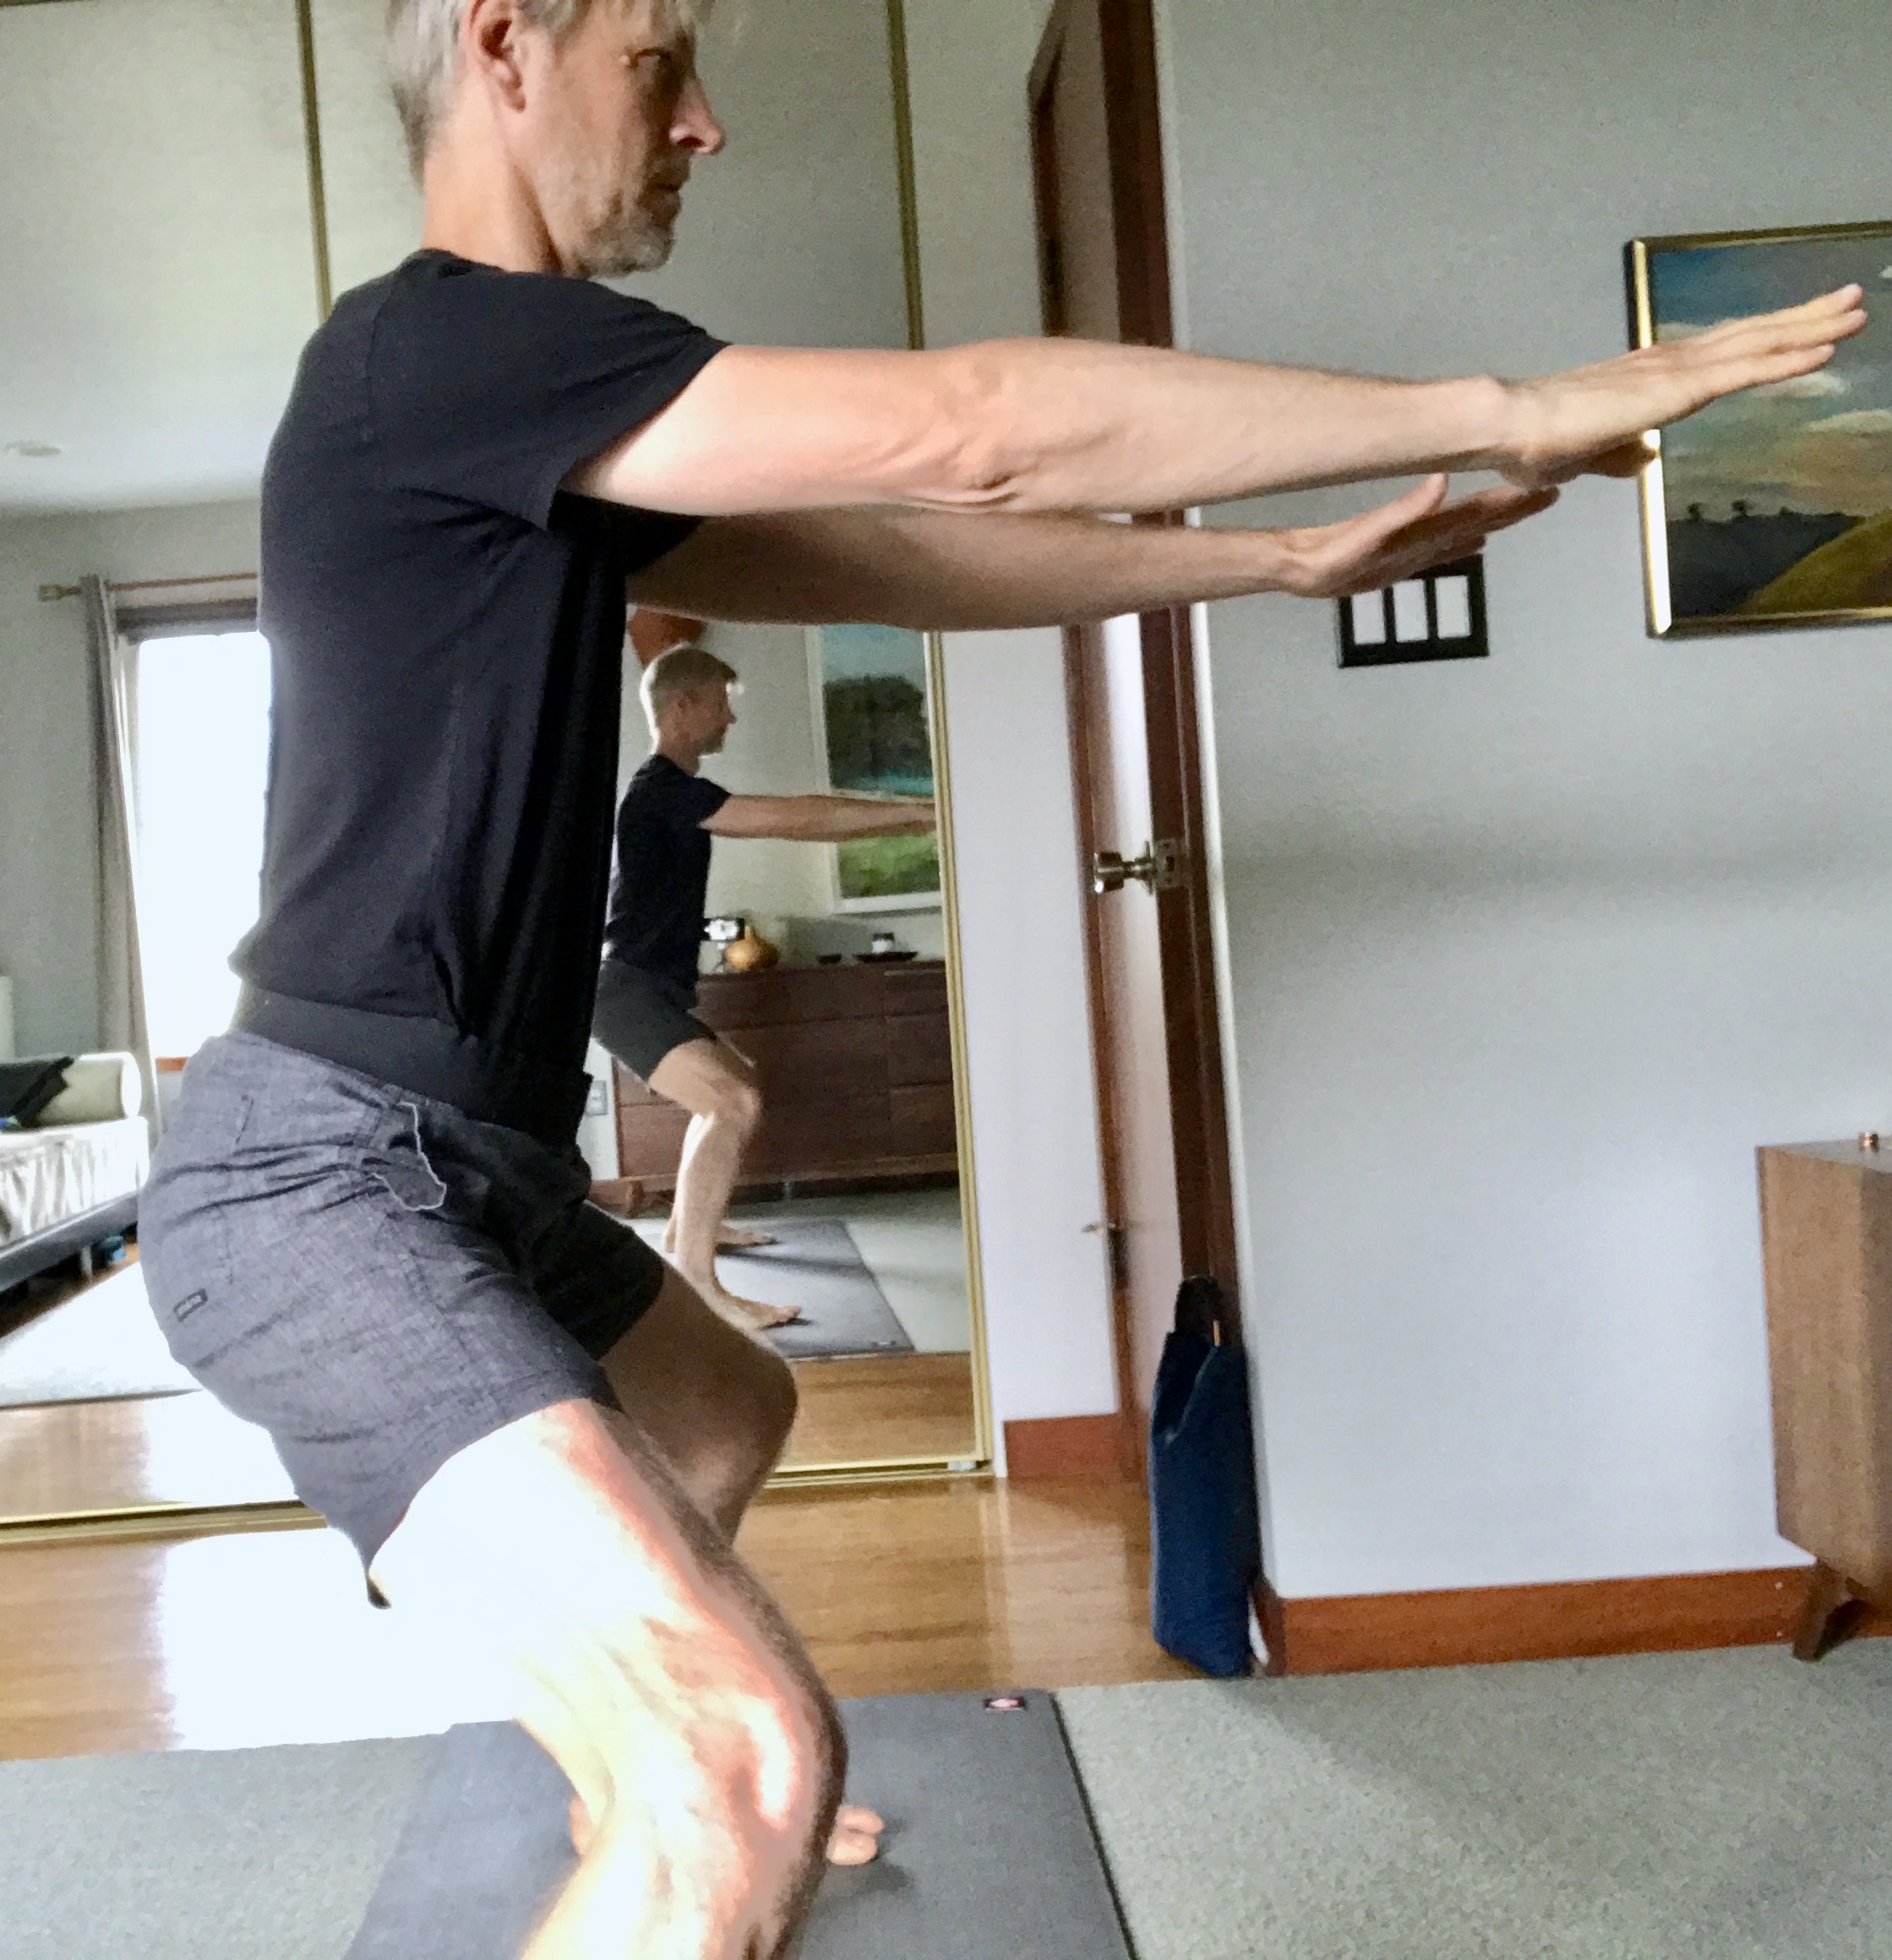
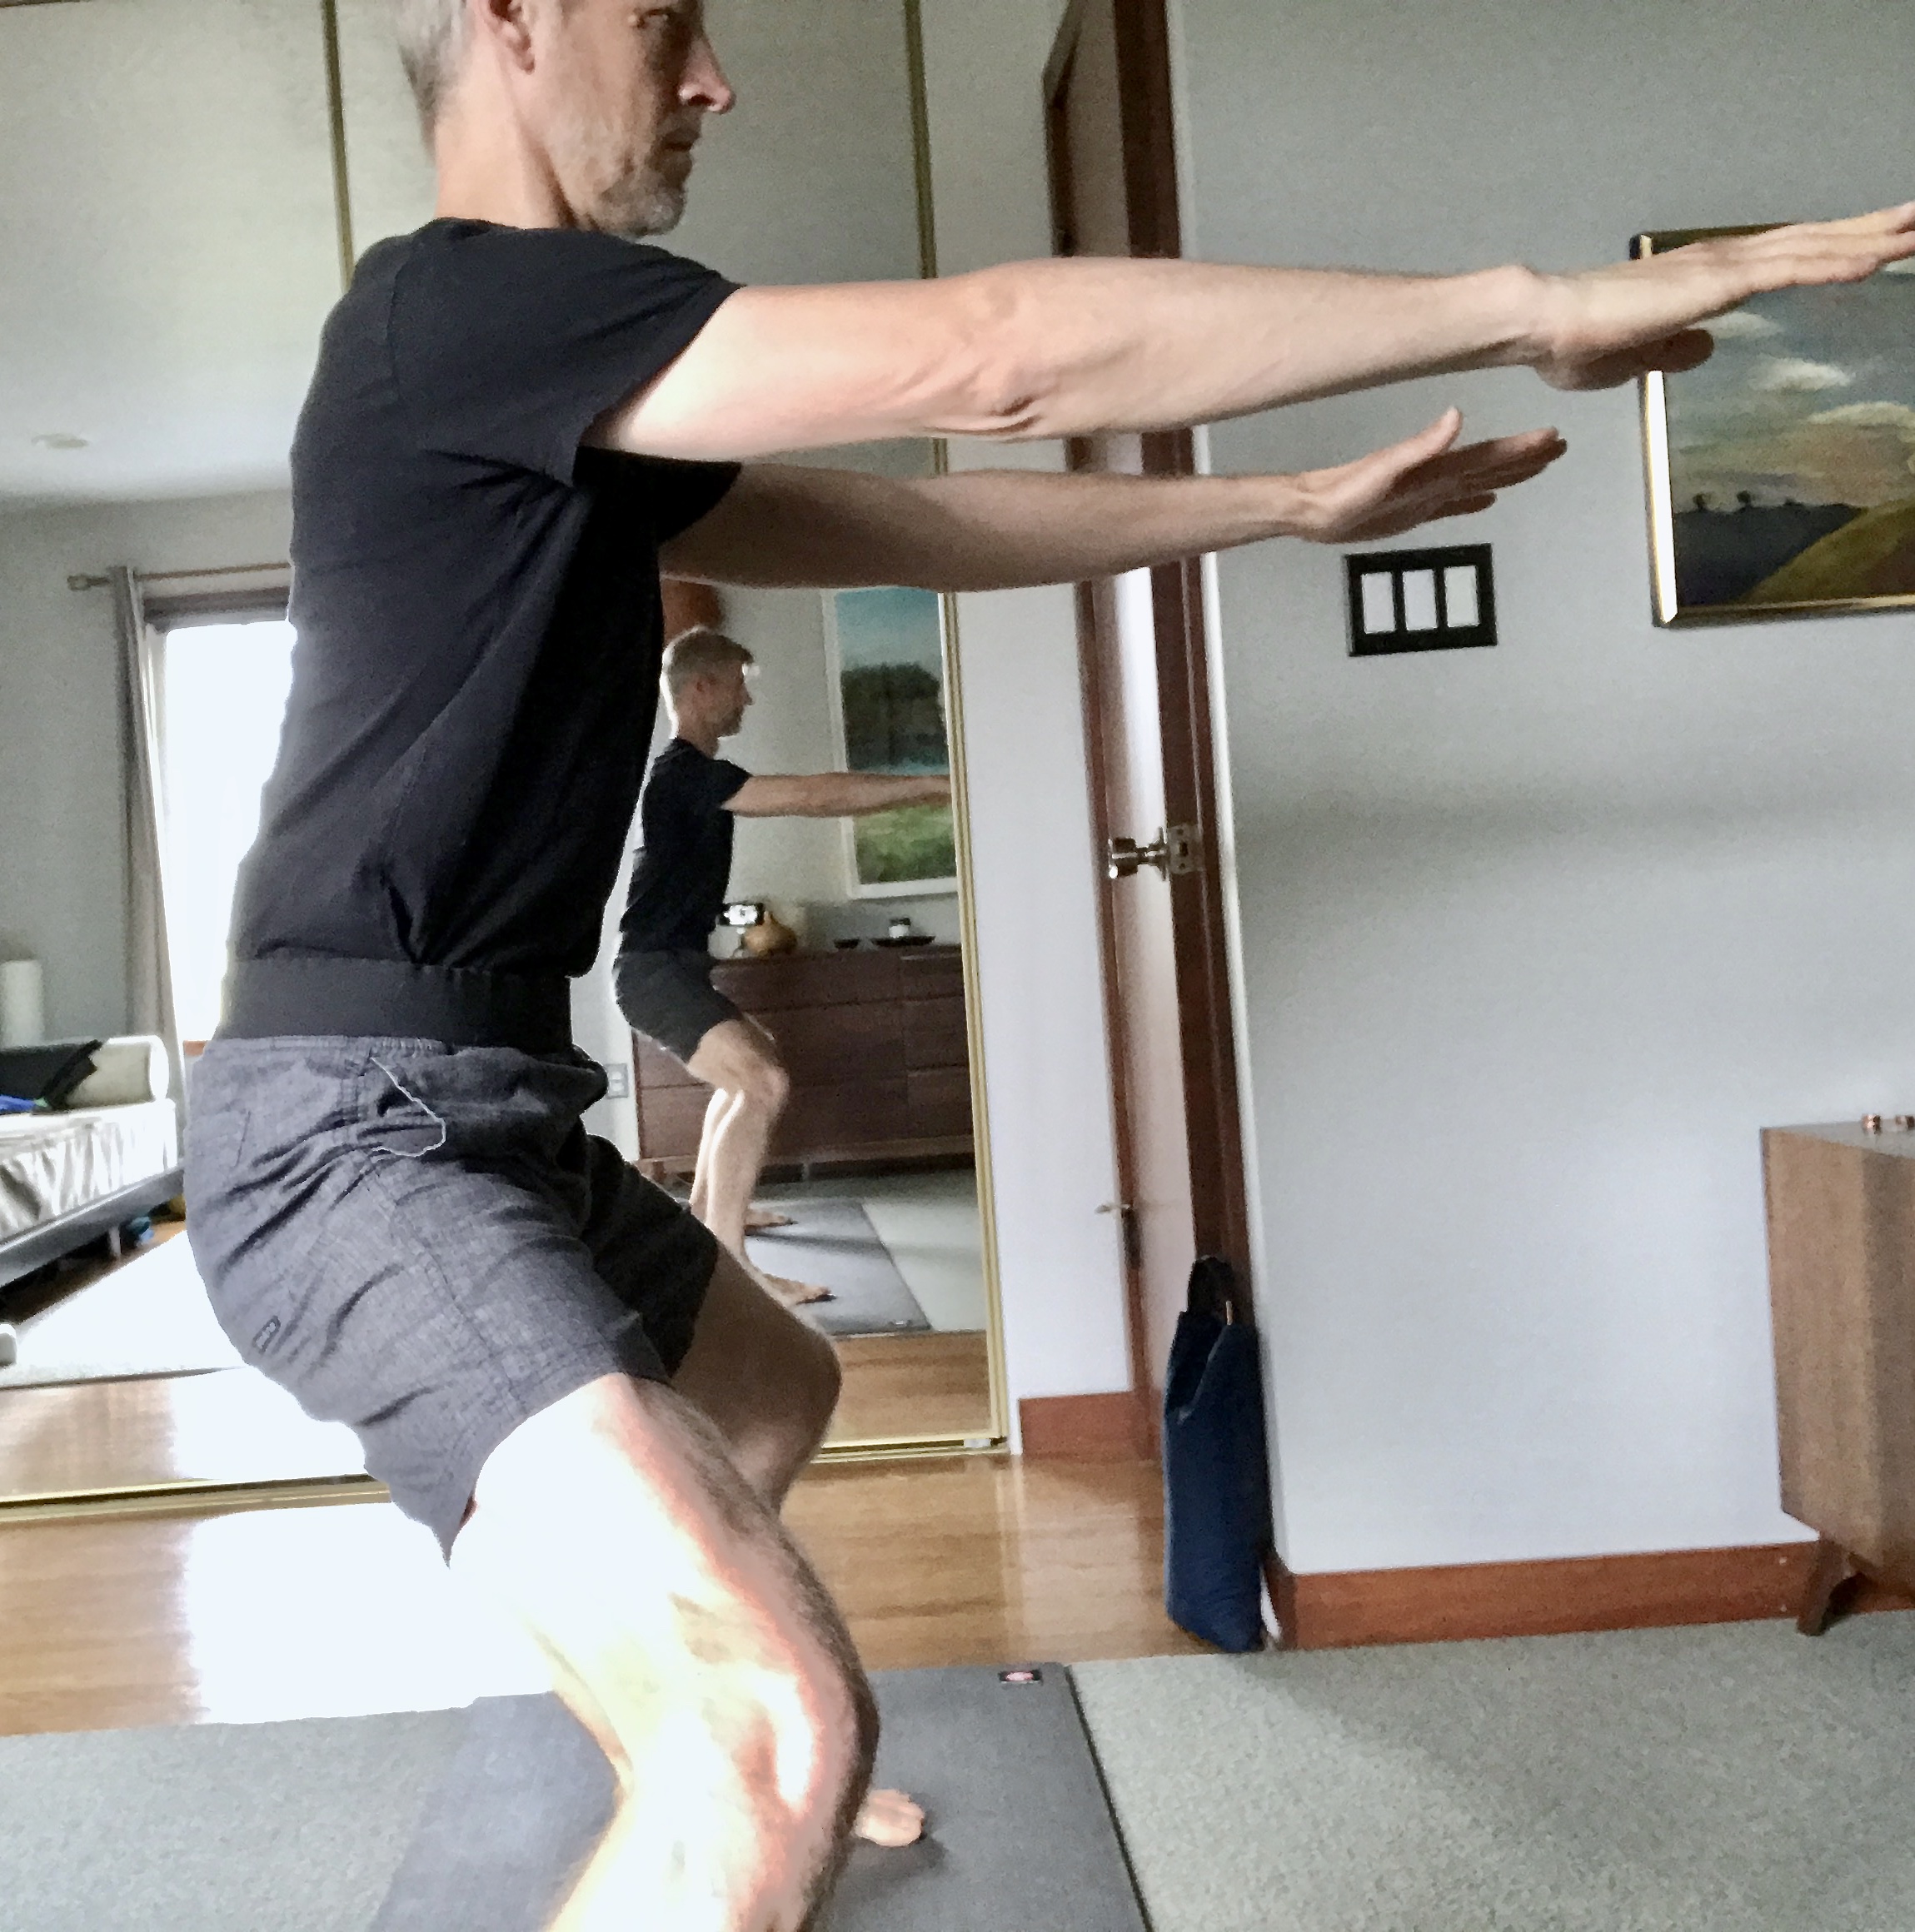
When the body is completely covered with oil, leave it on for another 10-15 minutes. You might enjoy doing some yoga postures or other simple exercise, pranayama or breathing exercises or sitting for meditation. When you’re ready or running out of time, take a warm bath or shower and clean off all of the oil. You will likely need to shampoo your hair twice to get all of the oil out.

Self abhyanga can be thought of as an act of self love. The experience should be nurturing and not feel rushed or in any way an imposition. If you’re stressed and/or don’t have time to approach it in this way, leave it until you do.

Contraindications for self abhyana include: skin rash, menstruation, cold and flu

Self Nasya – applying oil to the nose

There are various medicated nasya oils in the marketplace. Typically these have nervine sedative and/or nervine tonic herbs cooked into them. The one that we sell at Alignment Lab and that we recommend is produced by Banyan Botanicals. If you are unsure of which medicated oil to use you can contact me for help. If you feel uncomfortable with using medicated oils you can also use plain sesame oil.

Self nasya works best if you’re lying down and have time to let the oil penetrate deeper into the sinus passages. Warm the oil to body temperature or slightly higher but NOT until it’s hot. Lie down on your back and place several drops of the warm nasya oil in each nostril as outlined in the product instructions. If you’re using plain sesame oil use 8-10 drops.

Remain in a reclining position for 1-5 minutes and relax, giving the oil a chance to penetrate deep into the sinus passages. If you’re using a medicated oil and wish to facilitate the nervine effects of the herbs in the oil, stay 5 or more minutes and give the oil a chance to penetrate even deeper.

*The nose is considered a direct pathway to the brain, and this can be an effective way of delivering the herbs and their properties to it.

For the quickie version, place some warm oil into the palm of your hand. This can be done, for example, during your self abhyanga. Dunk your pinkie finger into the oil and rub it gently into your nostrils. Repeat this 2-3 times for each nostril while “sniffing” the oil with moderate force to get it to move higher up into your sinus passages. Massage the inside of the sinuses to help the oil penetrate in.

*This quickie method can be helpful for keeping the sinus passages moist and enhancing their ability to resist environmental irritants.

The dinacharya are a wonderful way of making health and wellness a part of each and every day. Even if you don’t have time to do every one of the activities prescribed, just having these routines as a touchstone will be a powerful and supportive resource for you. I have learned a lot and received many benefits from practicing these daily routines and I’m confident you will too!

Extended Side Angle Posture (utthita parsvakonasana): Set Up and Cues

Side angle posture is one of the more challenging standing postures because of the strength that it takes to keep the many loads it places on the body well distributed. I believe the cues in this video are helpful for improving and ultimately mastering the posture.

Setting Up Triangle posture (utthita trikonasna) with the Wide High Squat

Since expanding my training into DNS I’ve refined my approach to every yoga posture that I do and teach. Much of these refinements have come in the way I set up each posture. This video demonstrates a set up for triangle posture and provides some additional instructions for performing the posture that build on the set up.

The entry and exit points I use for Triangle posture and other standing postures is a posture I call the “Wide High Squat.”  This posture is shown in the two photos below. The “Wide High Squat” facilitates some important alignment elements that include organizing the shoulder girdle, aligning the head and upper thoracic and aligning the pelvis and the ribcage.

In order to clarify a key element of this posture, the photos here show before and after versions. In the first photo I have moved my hips back with a small amount of bend in the knees to facilitate a maneuver I call “uprighting the pelvis.” This maneuver aligns the pelvis with the ribcage so I can begin to stabilize the lower trunk. In this first photo I have not yet “uprighted,” thus the anterior or forward tilt in the pelvis and the hyper extension of the lumber spine.

In the second or “after” photo I have now “uprighted” by posteriorly tilting the pelvis and removing the excessive lordosis in the lumbar spine. This allows me to distribute my intra-abdominal presser evenly in the lower trunk and pelvis. I can then begin to activate the stabilizers in my abdomen, waist and lower back and pelvis to maintain the intra-abdominal pressure as I move to initiate and perform Triangle.

Notice I have NOT moved my pelvis forward, only rotated it posteriorly. This is the key! If the pelvis translates forward when you attempt to upright it, you’ve failed to upright from the hips and you won’t be able to stabilize properly, If this happens, nothing else you do in Trikonasana will really work. You must upright the pelvis for success in this and other standing postures!